these are just the photos I took while collecting soil samples and the red ones are the ones that I'm putting together as an edit. In the same way that I'm posting photos of these activities on my blog- we want you to post your images(photos, drawings or anything else) of soil sample collecting and plate swabbing on your blog. This way I can see what you're doing with the project and leave some feedback for you.
here are some of the images I like as a basic edit bigger below. There's a LOT of photos! And that's okay. I wont want to use all these later but making art is a lot like a science project. We have some ideas and we start to experiment by collecting a lot of data, making observations and then putting that all together in some way that makes sense for our objectives. Right now we want to document part of the science experiment but also try to make some nice looking images.
Its worth considering what you want the photograph to 'say'
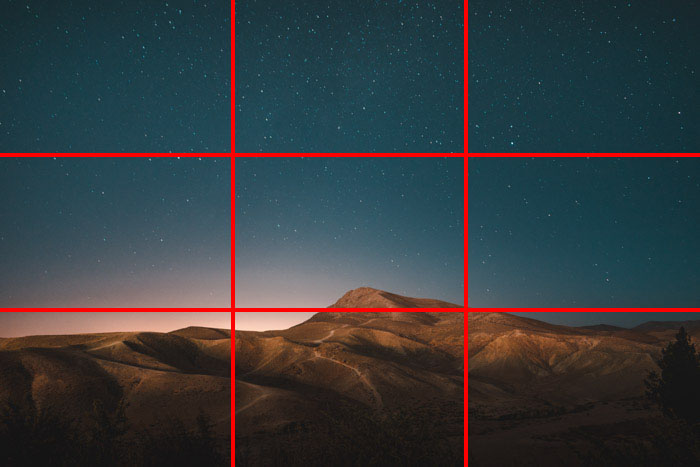
this first batch i experimented with composition thinking about the rule of thirds as well as trying to show the 'environment' and landscape i was collecting soil from:


it's exciting to try different ways of looking at things- we can find new ways to describe the area around us and what impact there might be. I haven't decided on the composition and spoon/soil reflect I like best so these are the contenders. I might crop one of them to get that "rule of thirds" later. It was difficult to compose while getting the focus and reflection so i decided to make a bigger picture that I can maybe edit later,


nice close up of one of the first places i collected soil from. it shows a past tense action and other elements of the soil.

 there were also dandelions around so i thought i would document some of the things i saw
 then i found this worm, i think its injured. I hope i didn't step on it. :( make sure when you're collecting your samples that you observe health and safety things, consider gloves or if the area you're in is safe to you first, but also try to make sure you're doing no harm to the environment. :)
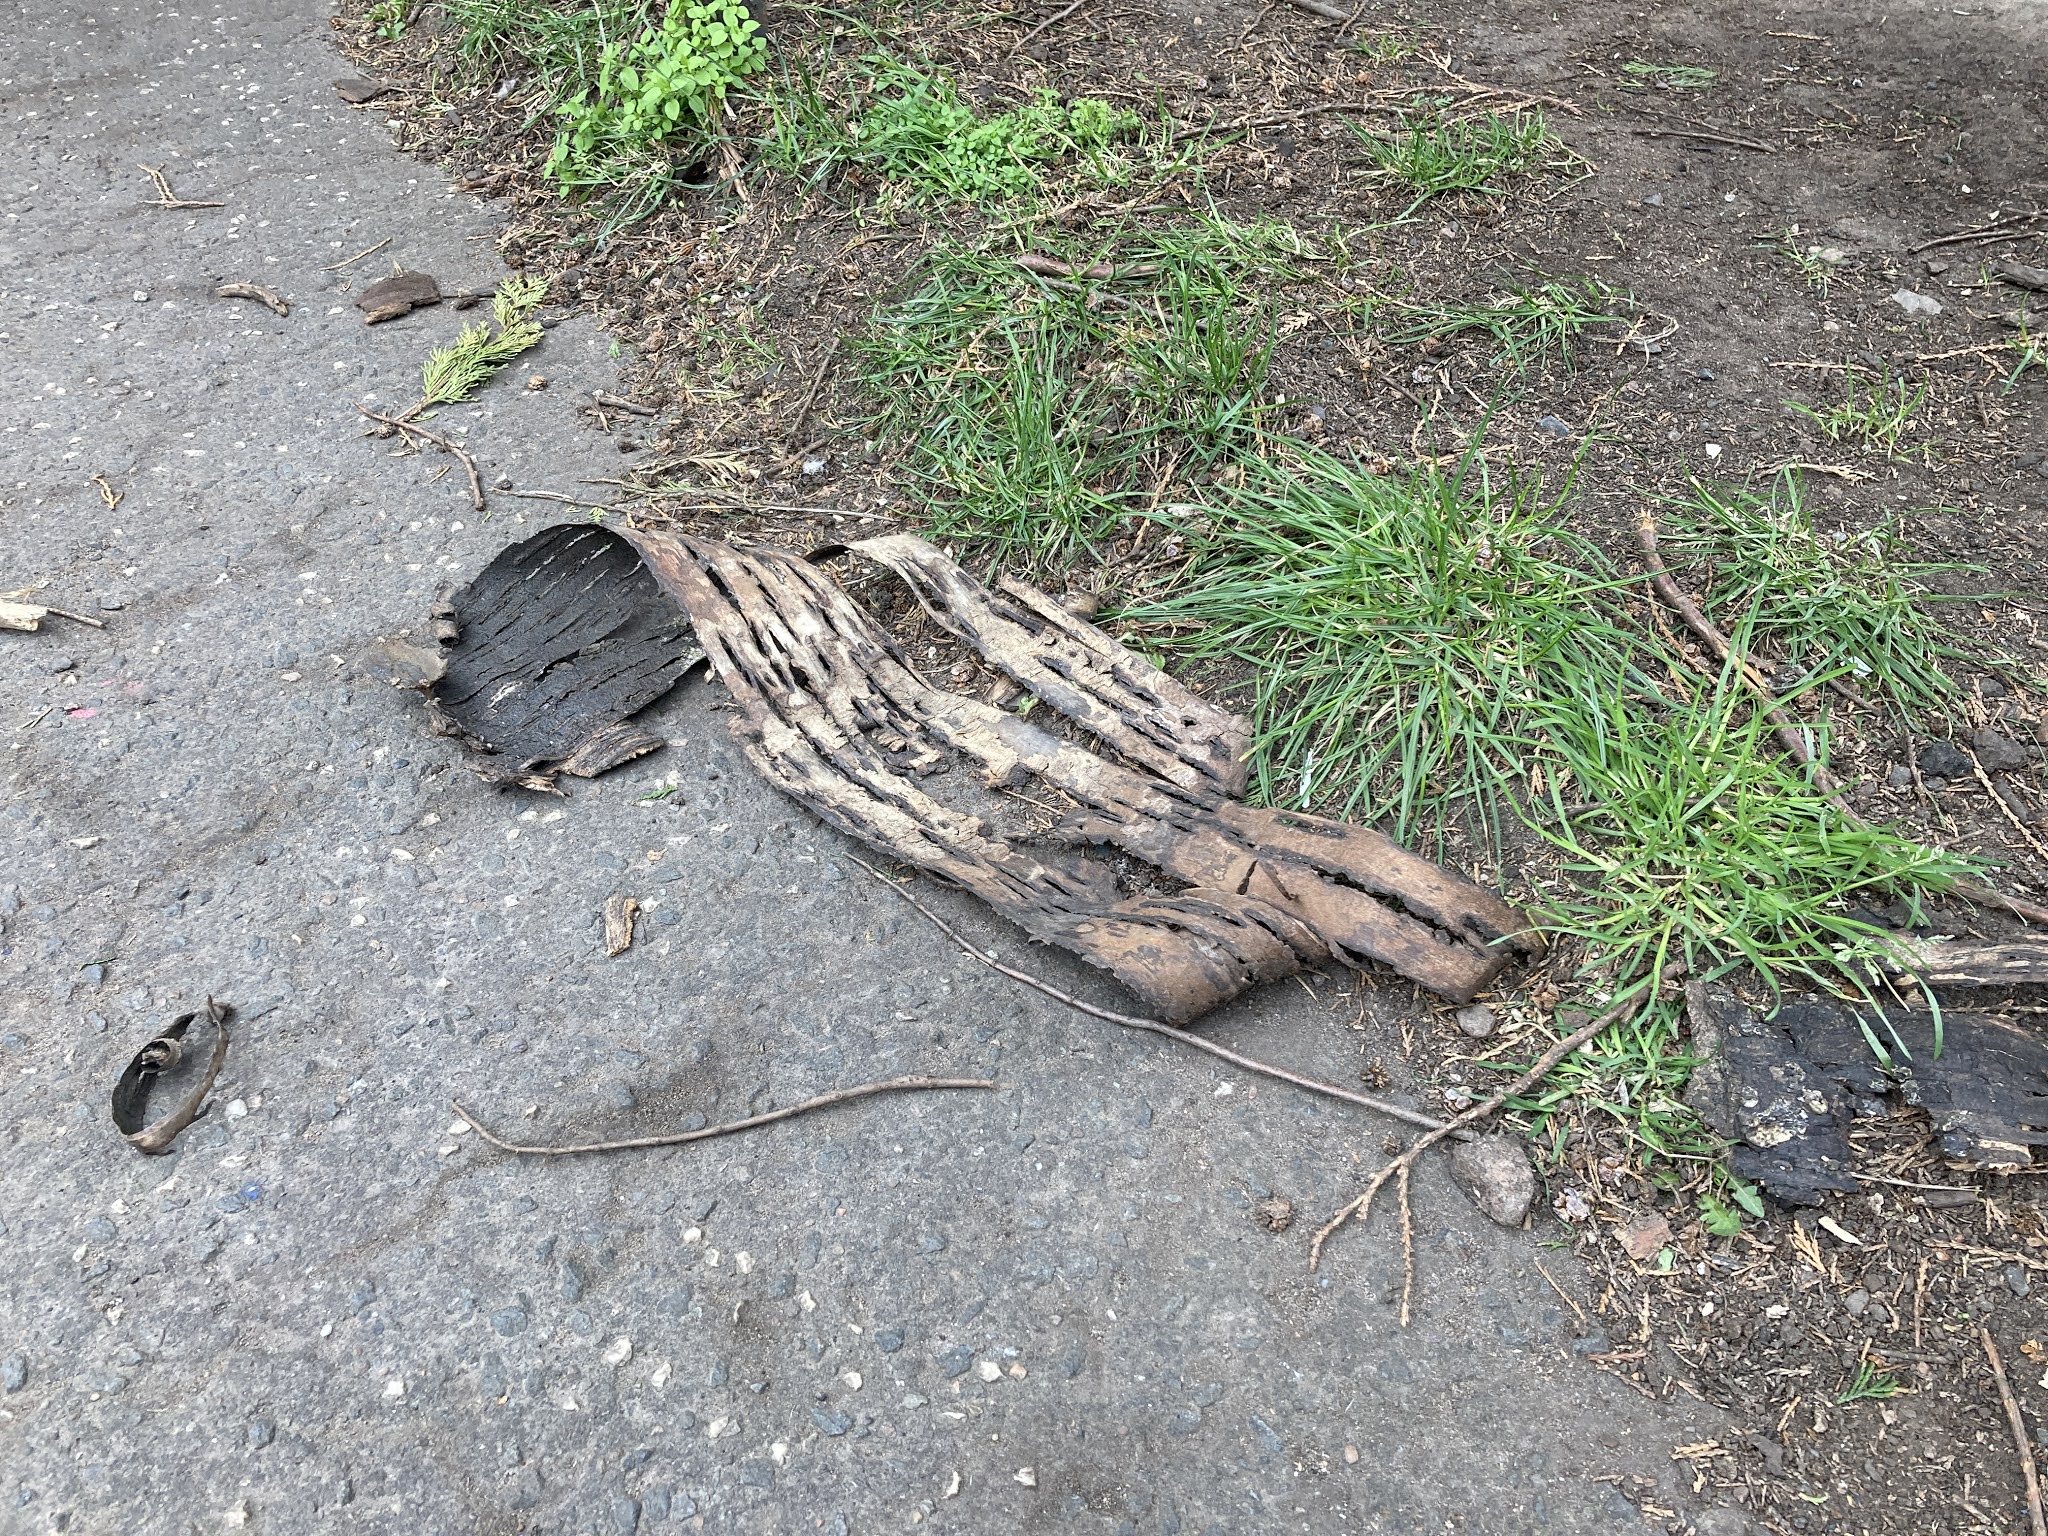
 i found this semi decomposing piece of plastic bag. I decided it was a part of the environment worth documenting. It's not always just nice nature bits- the bag was kind of interesting in its shape and I got an idea for doing more photography with it. I had a spare bag so I picked it up and took it with me.


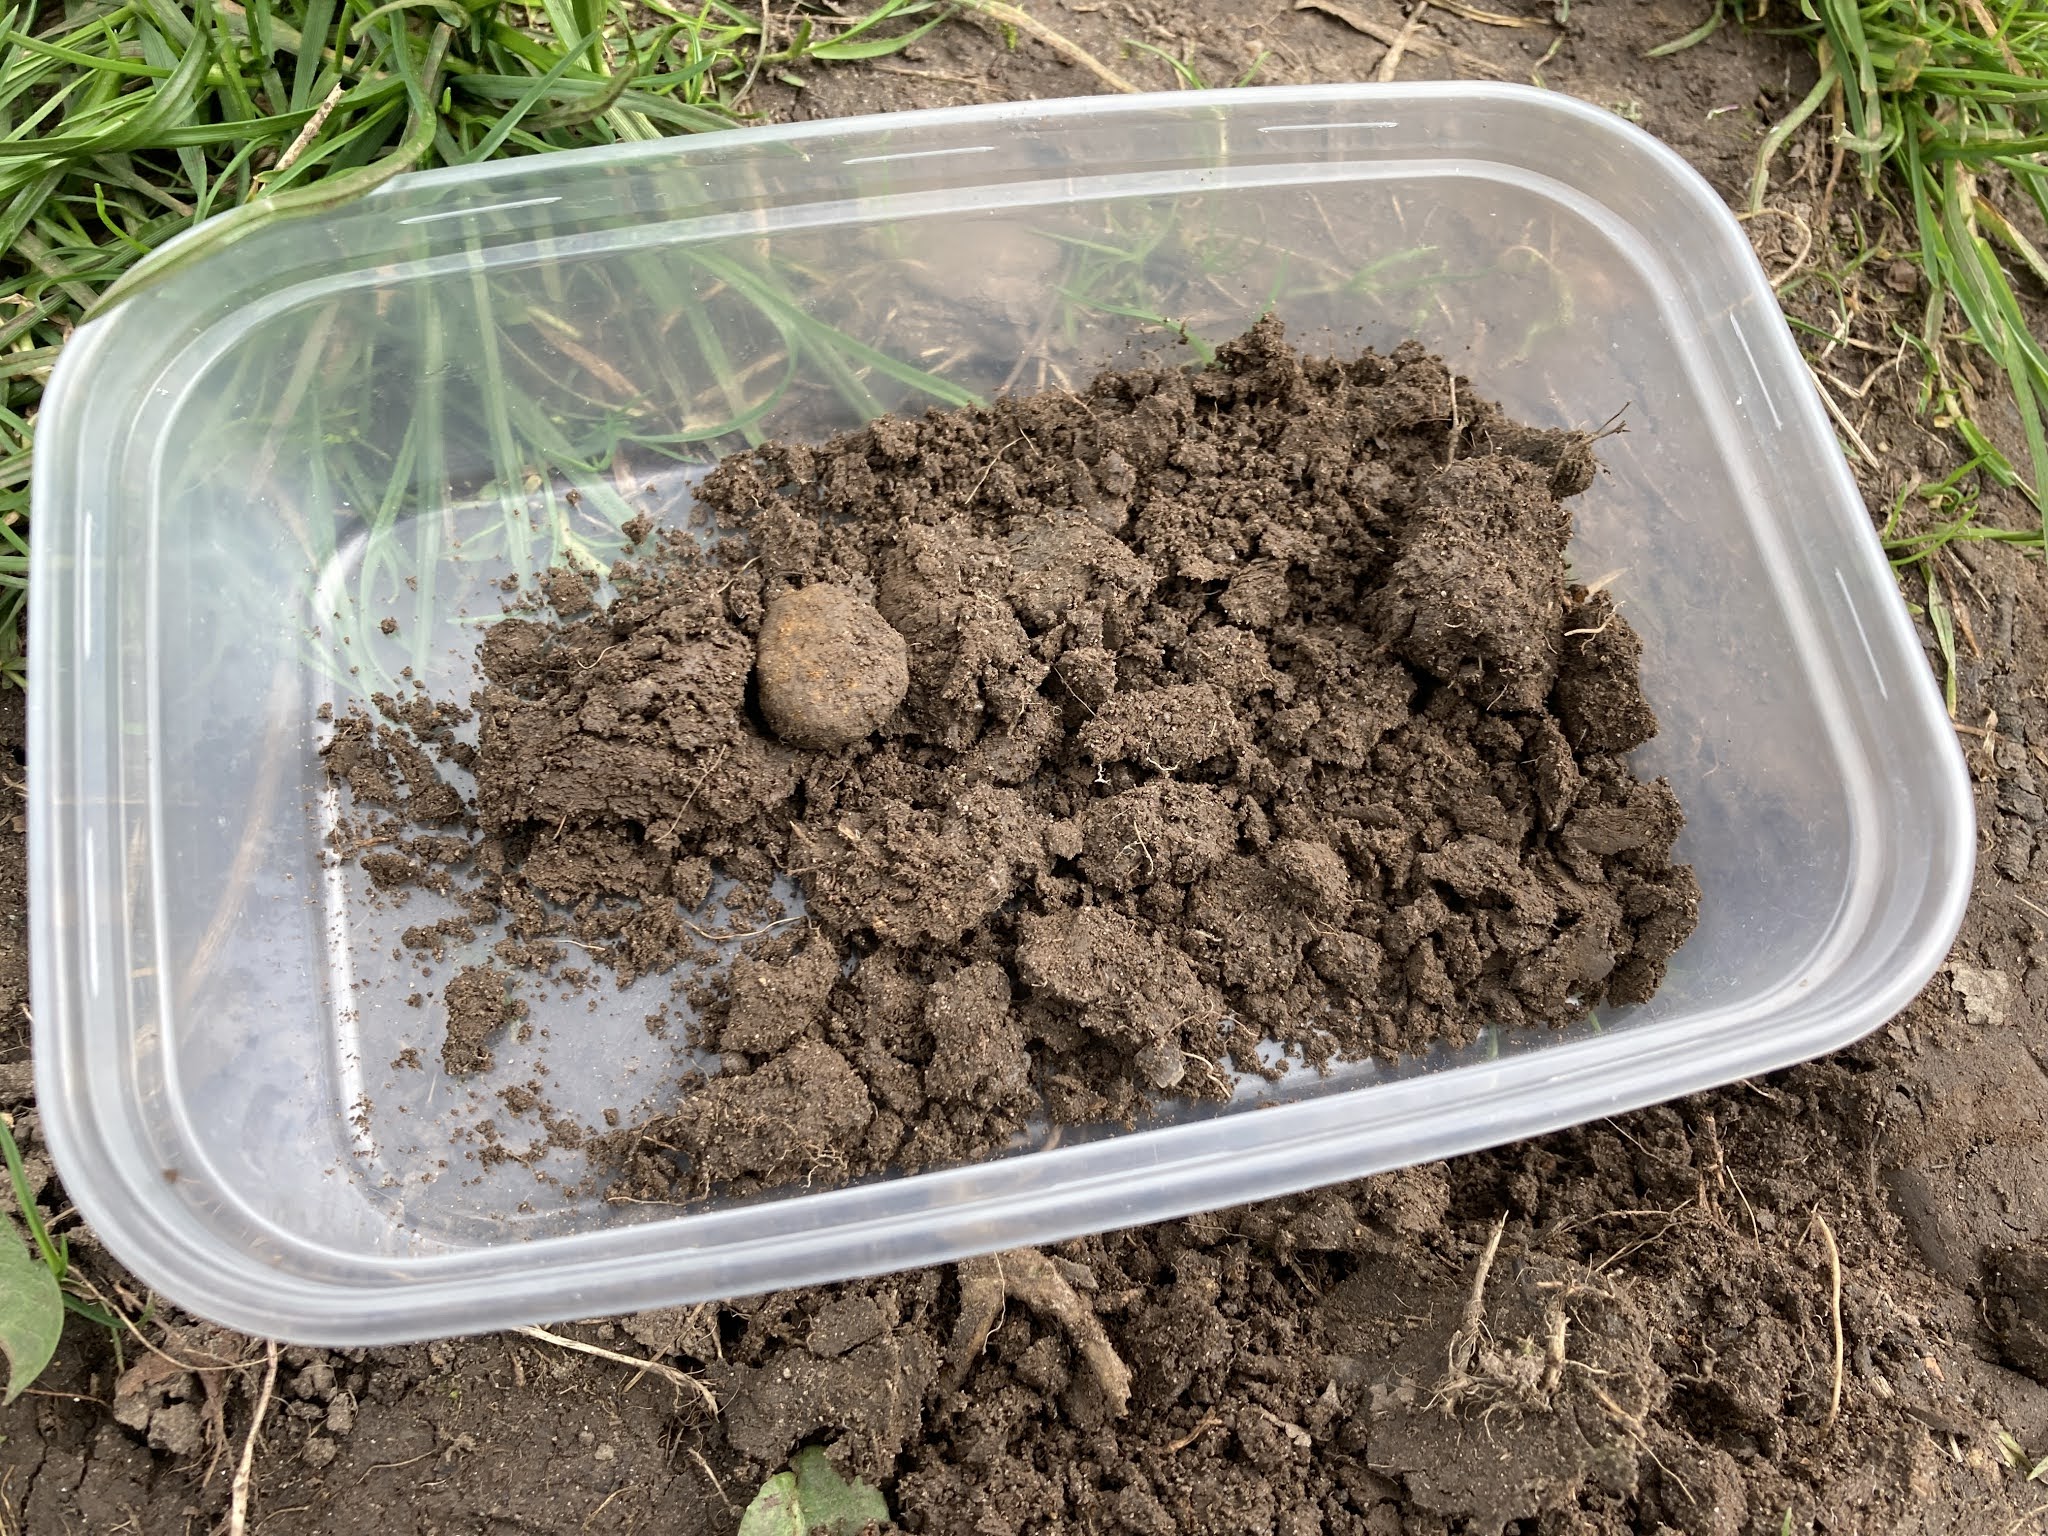
just some up close and personal photos of my samples in the carryout container.
how close can I zoom in and crop before these become abstract and something else?

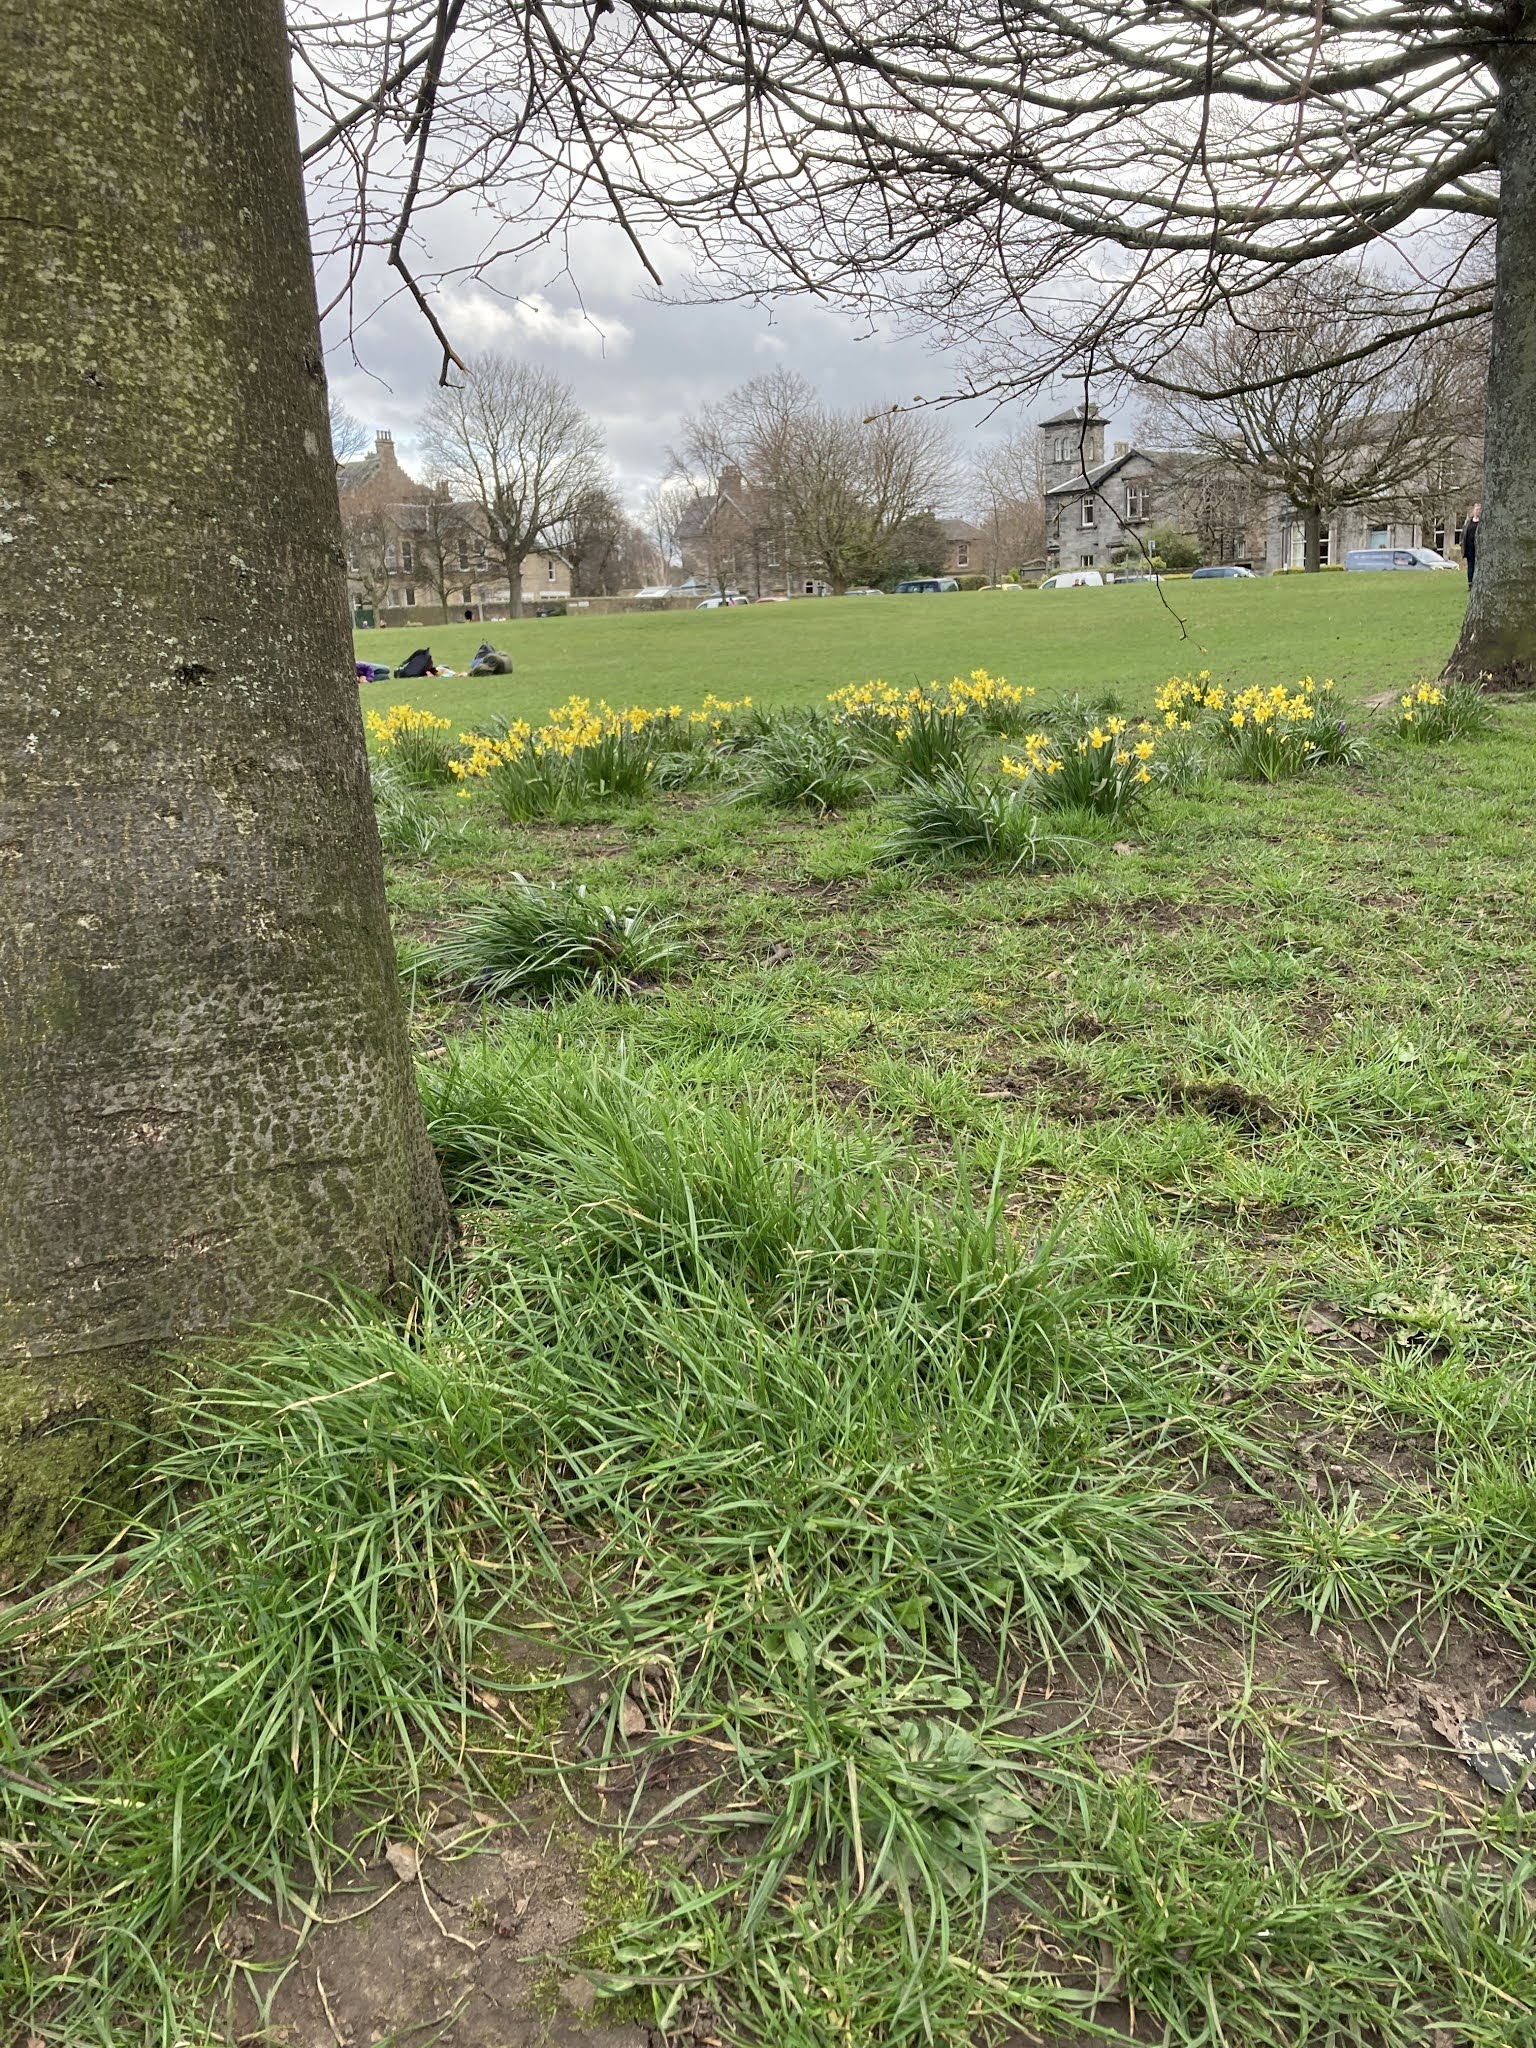
soil sample in environment where taken
it fills the frame while still showing some of the environment it came from
and it's at a fun jaunty angle


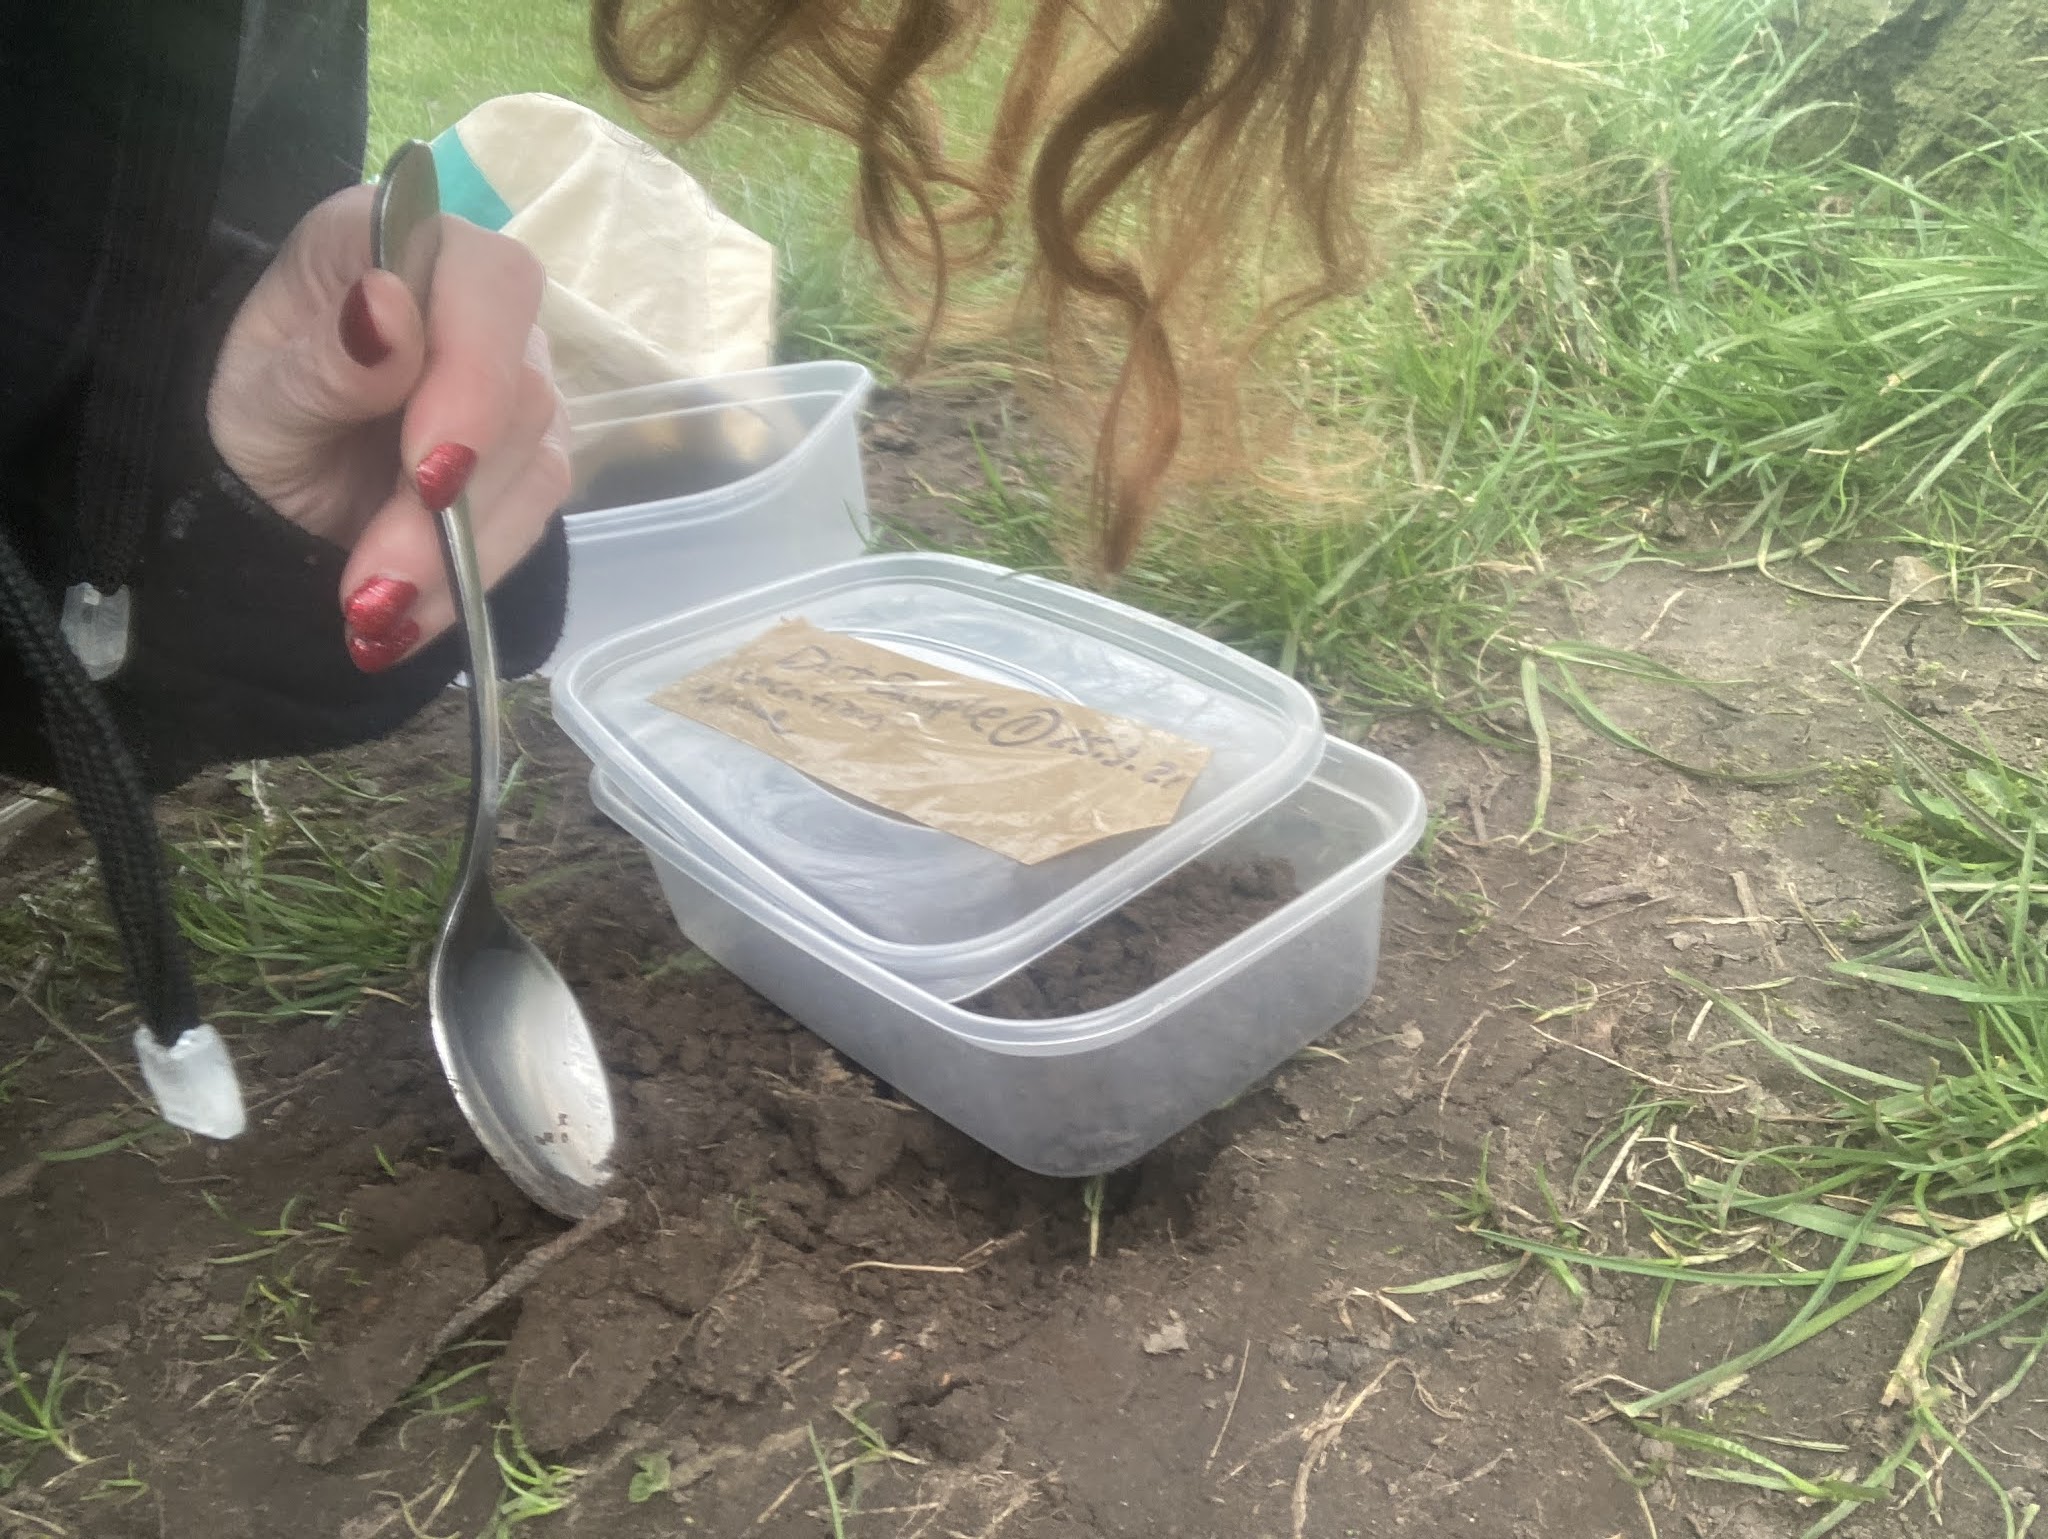
action selfie. sometimes its just nice to have some documentation of what you're doing.
if no one is there to take a photo find a way to identify yourself. I used my hair.

here i thought i'd just take a down on the ground photo of some of the grass nearby


In this way I will both have a positive impact on the environment by removing some plastic litter but also found something to begin a sketch of a project with. Feel free to do the same. We might be able to use it later. Again, be sure you're being safe.


looking up this was the evergreen that was above me.


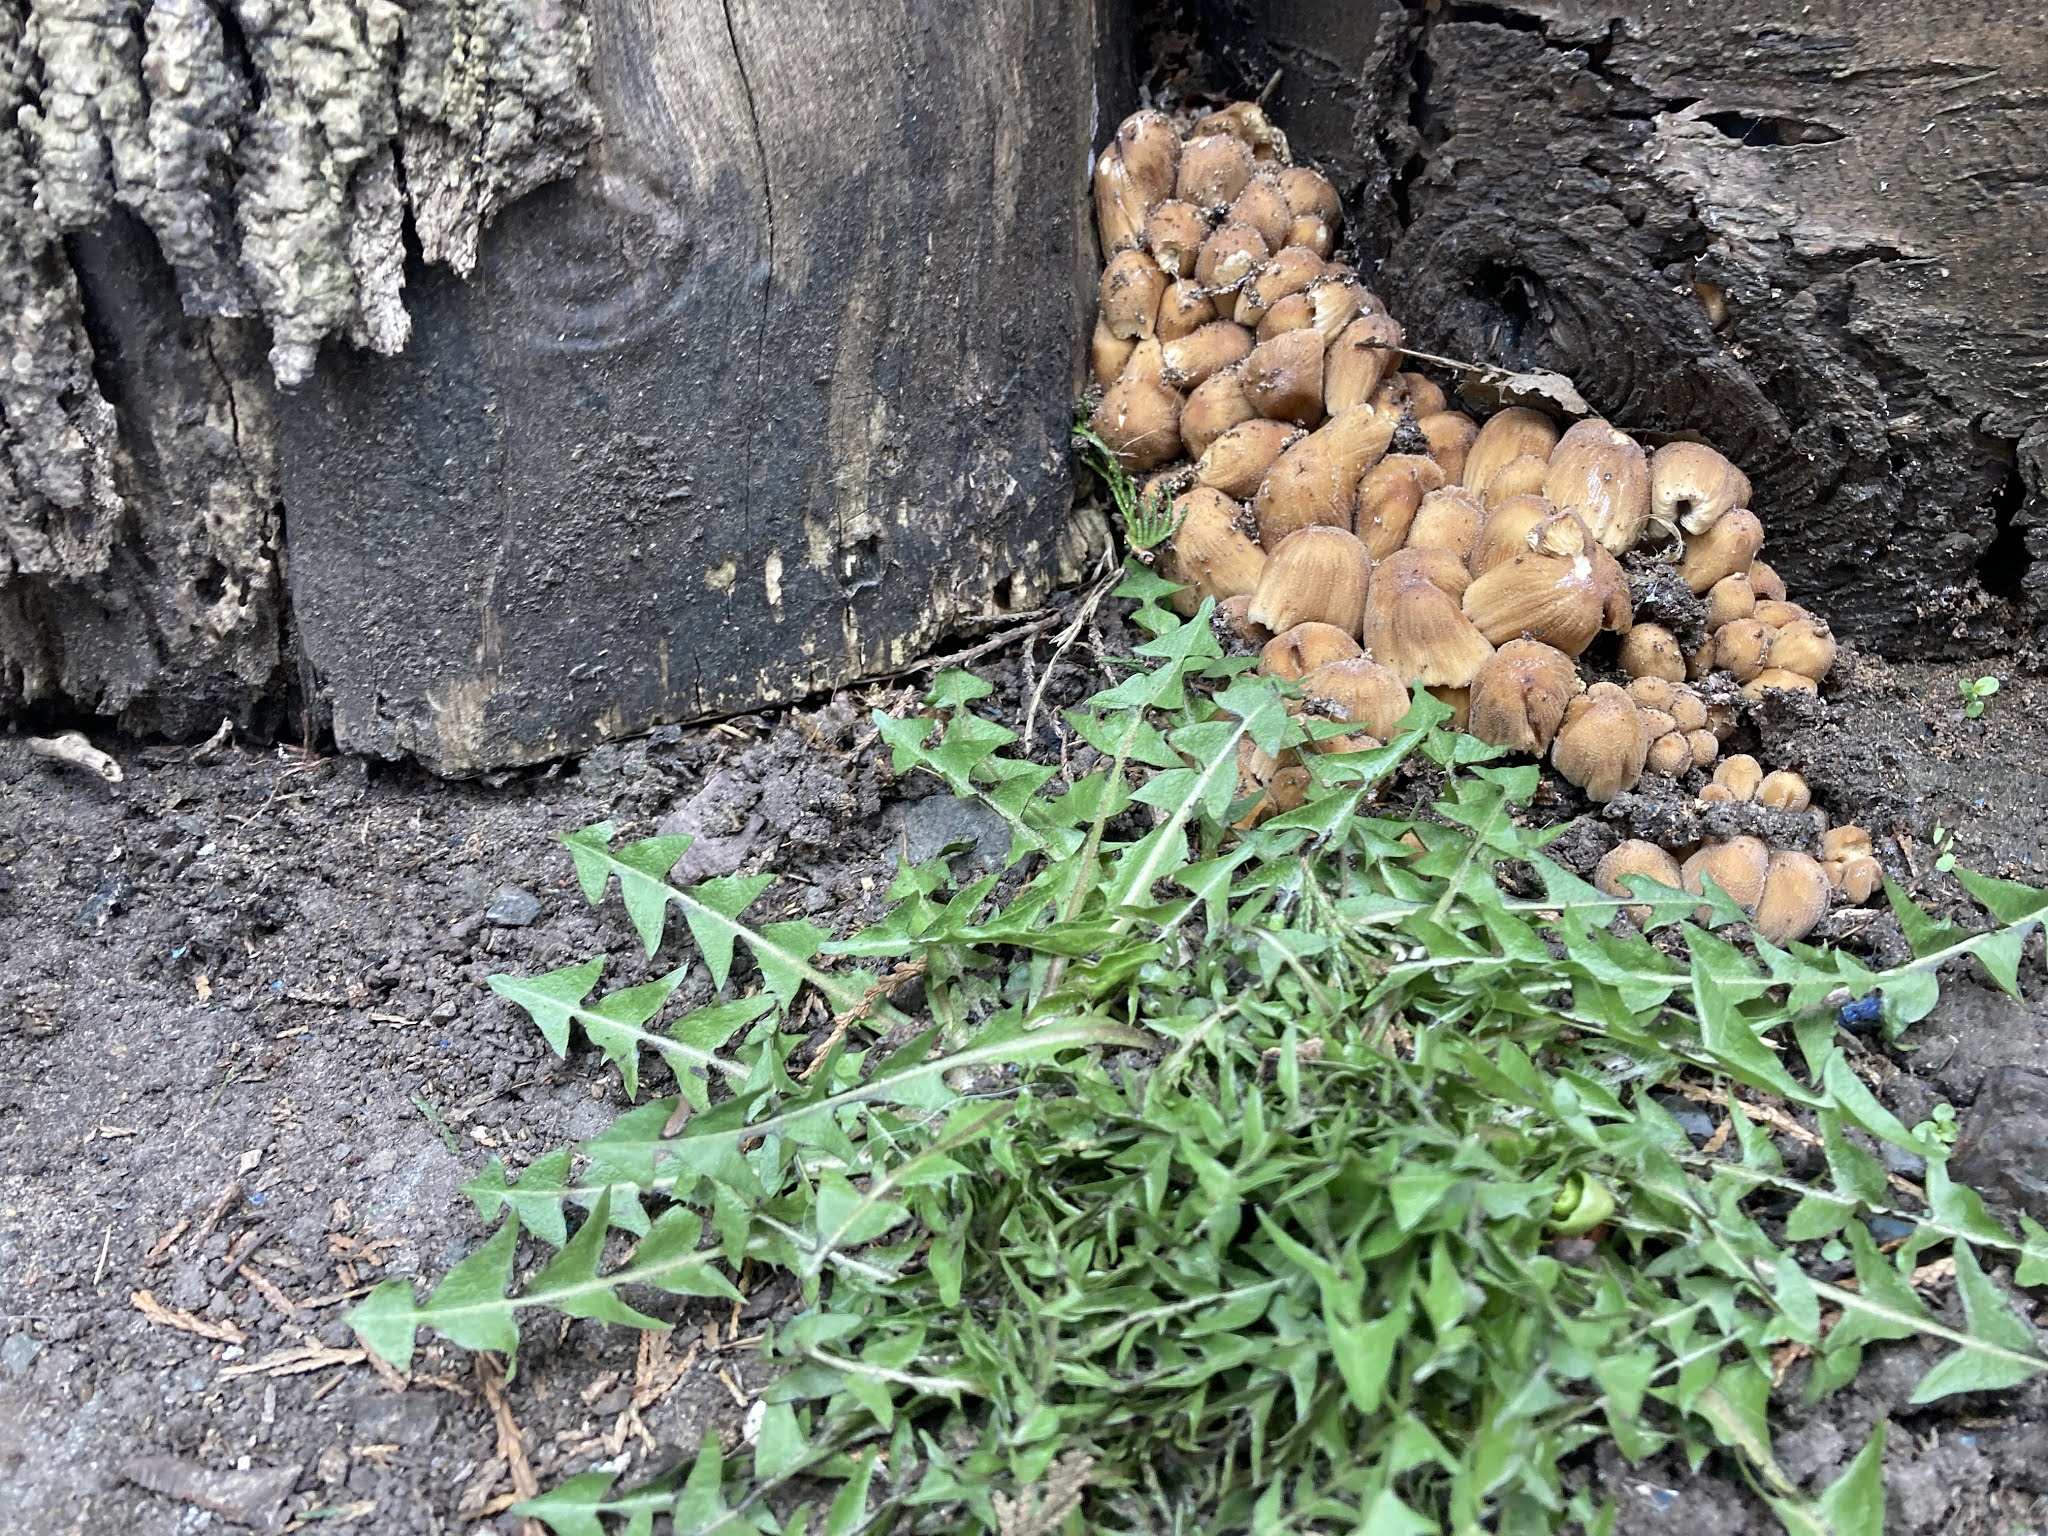
detail shot of where I dug up some soil, and i wanted to take some phtoos of the fungus- i like the colour and the texture and it looks nice with all the other elements.


another soil sample in situe


if you have another way you'd like to try and describe this activitiy, I know a lot of you said you like drawing - go ahead and do some of that too if you want! I'm not a great illustrator so i use interesting photographic techniques to describe these things differently, which we'll get into more the next time we meet. Please do take a few different kinds of photos tho- and next week when you prep the slides with the samples!