Wednesday, September 1, 2021
Public installations... you can access more from my instagram -> stories -> exhibitions
here is some documentation of the public installtions and inperson/online public response:
Sunday, June 20, 2021
ALL the AMAZING Work WE (you students) made!
I've made a little website gallery of all the prints you made.

Please click *THIS LINK* to see all the images.
Feel free to message me if you want your name on your unsigned work- I'll need you to send me a screen grab as well so I know which organic print you are describing.
Hopefully your teachers will send me photos of us makeing work together and they can give me your chromas to scan or maybe they can send me some scans and I can add them to the gallery.
Monday, June 14, 2021
Cyanotypes Iron and Light

this is an exposed but not processed cyanotype photogram I made with that soda bottle I found on the ground the day i was collecting soil samples.

Edinburgh has an average range of UV
from 0-1 in the Winter
to 3-6 in the Summer
Different parts of the world get more or less light
than us throughout the year.
depending on the time of year we get more or less sunlight which helps for :
- growing
- making us happy
- printing photographs
what else?
 |
| picked up some seaglass from the beach and left it on top of the cyanotype coated paper the different colours of glass have different materials in them, some block light more than others in old beer and wine bottles the glass is usually green or brown which blocks more light. The light is blocked not just because it's darker- it has to do with how colour filters light and how the light spectrum is devided into different wavelengths and those in the visible spectrum have different colours. UV light goes from 350 nanometers to around 400nm and is higher energy waves lengths at the other end of the spectrum is red. why might we want to block more UV light in some beverages? What else can you tell me about the light spectrum? |

How do the different colours and tones in the exposed but unprocessed print above relate to those of the washed finished print below?

this is what the cyanotype looks like after I've washed and dried it. because of the directional lighting from the sun, the sun moving a little and the objects being semi-transparent these pieces of seaglass print in a way that makes them look three dimensional and like they're touching (even though they weren't)
This also shows elements of how different objects have different kinds of 'light transmission' which you all had a chance to experience and experiment with when we did cyanotypes last thursday (june 10)
The two parts of cyanotype chemistry include the word "ferric" which means iron based.
this analogue photography process is one of the earliest and is a non silver based process.
Fun facts we discussed about cyanotype:
the process was invented by british scientist Sir John Herschel who then passed the process on to his friend botanist Anna Atkins who made the worlds first ever photography book "British Algy" of her specimins
the term 'blue print' for archetecture comes from this process and it was origionally created so Herschell didn't have to hand copy out all his science notes- like a proto-photocopier (proto being early or pre dating)
Printing with Silver! (and SO MUCH MUCH MORE)
2 Thursdays ago (June 3rd) we got to actually make things together and managed to somehow magically be gifted a sunny day from the photo gods.
We discussed word suffixes like phobic and philic in relationship to words they were already familiar with and how that related in a science context with chemistry.
We talked more about silver nitrate and silver crystals, how there is a latent image in the darkroom which developer helps grow the crystals big enough so we can see them. We talked about how the visible light spectrum is different wave lengths and how we can see some of them as different colours - we talked about rainbows, prisms and how black and white photo paper makes colours with chemigrams and lumes- not with pigments or dyes but by reflecting back only those wavelengths of colour.
we made our own photography developer using lemon juice and washing soda- then we talked about super addatives (multiplication of effect in phtoochemistry terms) by adding instant coffee.
we made our own fixer using what the origional photographers used- a basic salt that is commonly found for treating water to make it softer for fishtanks and pools.
we talked about fabric dying and using resists referencing Batik and then applied that idea to photo paper and made chemigrams exploring 2 different resists(being liquid-phobic).
we talked about Cliche Verrres and how they are the cross between printmaking, drawing and photography and then made our own which were printed using a solarising technique.
We also found plants and made accelerated lumen prints / or chemi-lumens with the plants the sun and the photochemistry we made.
We talked about the difference between photograms and contact prints
We also finally had you all make your chromas from your soil samples! (i'm really looking forward to seeing some of the photos your teachers took documenting- and yours too if you did take some please make a new blog post and add them).
I've got some snaps of you making things on my instagram here

Thursday, May 6, 2021
How to update your blog:
Log into your blogger account at Blogger.com
look for the orange "new post+" button on top left hand column. ( you can click on the photos to enlarge them) click that button
title your blog post
add photos using the mountain icon
add text
when ready click publish button top right orange with paper airplaine
click that button
title your blog post
add photos using the mountain icon
add text
when ready click publish button top right orange with paper airplaine
 unsure what to post about? look through my blog postings- I've asked some questions about your experiences if you want you can reply to my blog posts with questions.
2.post: photos swabbing your petri dishes


1.post: photos from where you collected soil samples and any information on the spot you chose and why - what made it interesting
3.post: photos of the growths on your petri dishes- what grew and how is that related to your location?
4.post: photos from preparations of the soil samples and chromas- and anything you found fun or interesting that you learned from doing this?
5.post: photos of your finished chroma- what do you think these chromas say about the soil health in the area that you collected from? Any other thoughts on this project.


Friday, April 23, 2021
Silver, Salt and Light:
How soil chromatography connects to the history of photography in Edinburgh and Scotland.
It's worth mentioning here that all the advancement in chemistry and innovation of photography might not be possible (or certainly delayed by who knows how long) if it weren't for a brilliant Scottish Chemist; Elizabeth Fulhame who discovered photoreduction with light, water and metal salts(silver nitrate!) She published An essay on combustion : with a view to a new art of dying and painting. Wherein the phlogistic and antiphlogistic hypotheses are proven erroneous in 1794!
Only four years after the invention of photography was announced to the world in 1839, two Scots had mastered the new medium and were producing works of breathtaking skill in extraordinary quantities.
Photographs by Hill & Adamson explores the uniquely productive and influential partnership of David Octavius Hill and Robert Adamson, which lasted a few short years from 1843 until early 1848. These stunning images, which belie the almost unimaginable technical challenges faced by the duo, are arguably among the first examples of social documentary in the history of photography.
- extract taken from 'A Perfect Chemistry Exhibition at the National Galleries Scotland.
 |
| Scott Monument on Princess St Edinburgh a salt print made from a calotype. 1843-47 year unkown Monument was completed 1844 |
 |
| Some gentlemen having a nice afternoon. James Ballantyne, Dr George Bell & David Octavius Hill Taken by Adamson with likely help of Mann. |
The photographs they made using the calotype process- which is really pretty tricky to get down, and not many people in the world still make them. Here's a link to the Calotype Society. Once they had an exposed and processed negative they would contact print the image onto salted and silver nitrate sensitised paper with sunlight and process it to get a positive print.
It's neat because the chemistry we're using with the soil chromatography is really similar to the salted print process they used. They were using the most modern technology of the time and mastered it really quickly! Today's equivalent of the calotype negative would be similar to some crazy high res million megapixel camera, or even our smartphones. The scenes they photographed look crazy old timey to us today- but that was contemporary life- well composed artful innovative photographs.
Below is a calotype negative I made to try it out and the positive salted paper print below. I figured the Standard Life building on Lothian Road in Edinburgh looked pretty contemporary so I thought it might make a good modern Edinburgh shot using the same processes as Hill and Adamson. It was a few years ago- maybe I should photograph the new St James Centre in Edinburgh, or maybe the trams... What can you photograph that speaks to the contemporary life of today?
 |
| you can see here my technical skills are not quite what Hill and Adamson's were with the Calotype process- if my negative were better the Salt Print might look a tiny bit better! |
Monday, April 19, 2021
Soil Chromatography!
So I mixed up all the materials and ingredients for soil chromatography- which you are all going to do this week!
What is Chromatography?
Chromatography understands the soil as a being alive, in other words it is an unfinished process with elements working and living in symbiosis. Therefore the final result is a qualitative view of these processes and elements rather than a quantative one.
Chromatography gives you valuable information such as soil structure, general health of soil, minerals available for the plant, biological diversity, or organic matter content and humus available. It also assess the fertility of the soil through the integration of previous elements.
This is a photographic process using capillary action to make beautiful abstract images which are also science information communication telling us about whats in the soil, and how healthy it is. The main ingredient after soil, water and paper is the Silver Nitrate we use as a sensitiser to make these images.
 |


a theme emerging- i noticed my reflection in the pool of soil sample liquid in my petri dish.
on the left i'm waving.
Some Fun Silver Nitrate (AgNO3) Facts:
Silver Nitrate is used...
- to test the exact salinity of Sea Water. (it’s about 35 grams per Liter, by the way…)
- in Oil Fields to determine the amount of Chloride ions in water and drilling fluids.
- in pharmaceuticals and treating skin and flesh wounds
- to prevent premature shrinking/ dropping of buds & blooms, in cut flowers. (2.83% solution)
- to inhibit cut flowers from making ethylene, which causes them to ripen
- as a stain for proteins and nucleic acids in microscopy
- as a glaze for ceramics (Raku and silver wash)
- as a colourant in glass (blues and purples)
- and
- As a sensitiser in Photography!

a still life of filter sensitization.
this is a timelapse of capilary action- this process is
used 2x. the first to sensitise the filter paper with silver
the second to suck up the dirty water samples we made
interestingly, the obsorption time changes depending on
what liquids we are soaking up- the silver was much faster
than the dirt!
the music is a collaboration by RM Hubbert and Kathryn Williams
off an albumn called "Tell the Trees"

these are two Chroma I finished soaking up dirty water with and taped them to my window to 'expose' and get the colours and forms to deepen.
Analysis of the Chromatogram or Chroma
The analysis of the final chromatogram - the filter paper - seems more difficult.
Comparison between before and after, different locations, may be easier than to pin-point exactly what is producing the patterns.
The different colours we obtain has to be a reflection of the chemical reaction with silver nitrate and whatever compound that is deposited there.
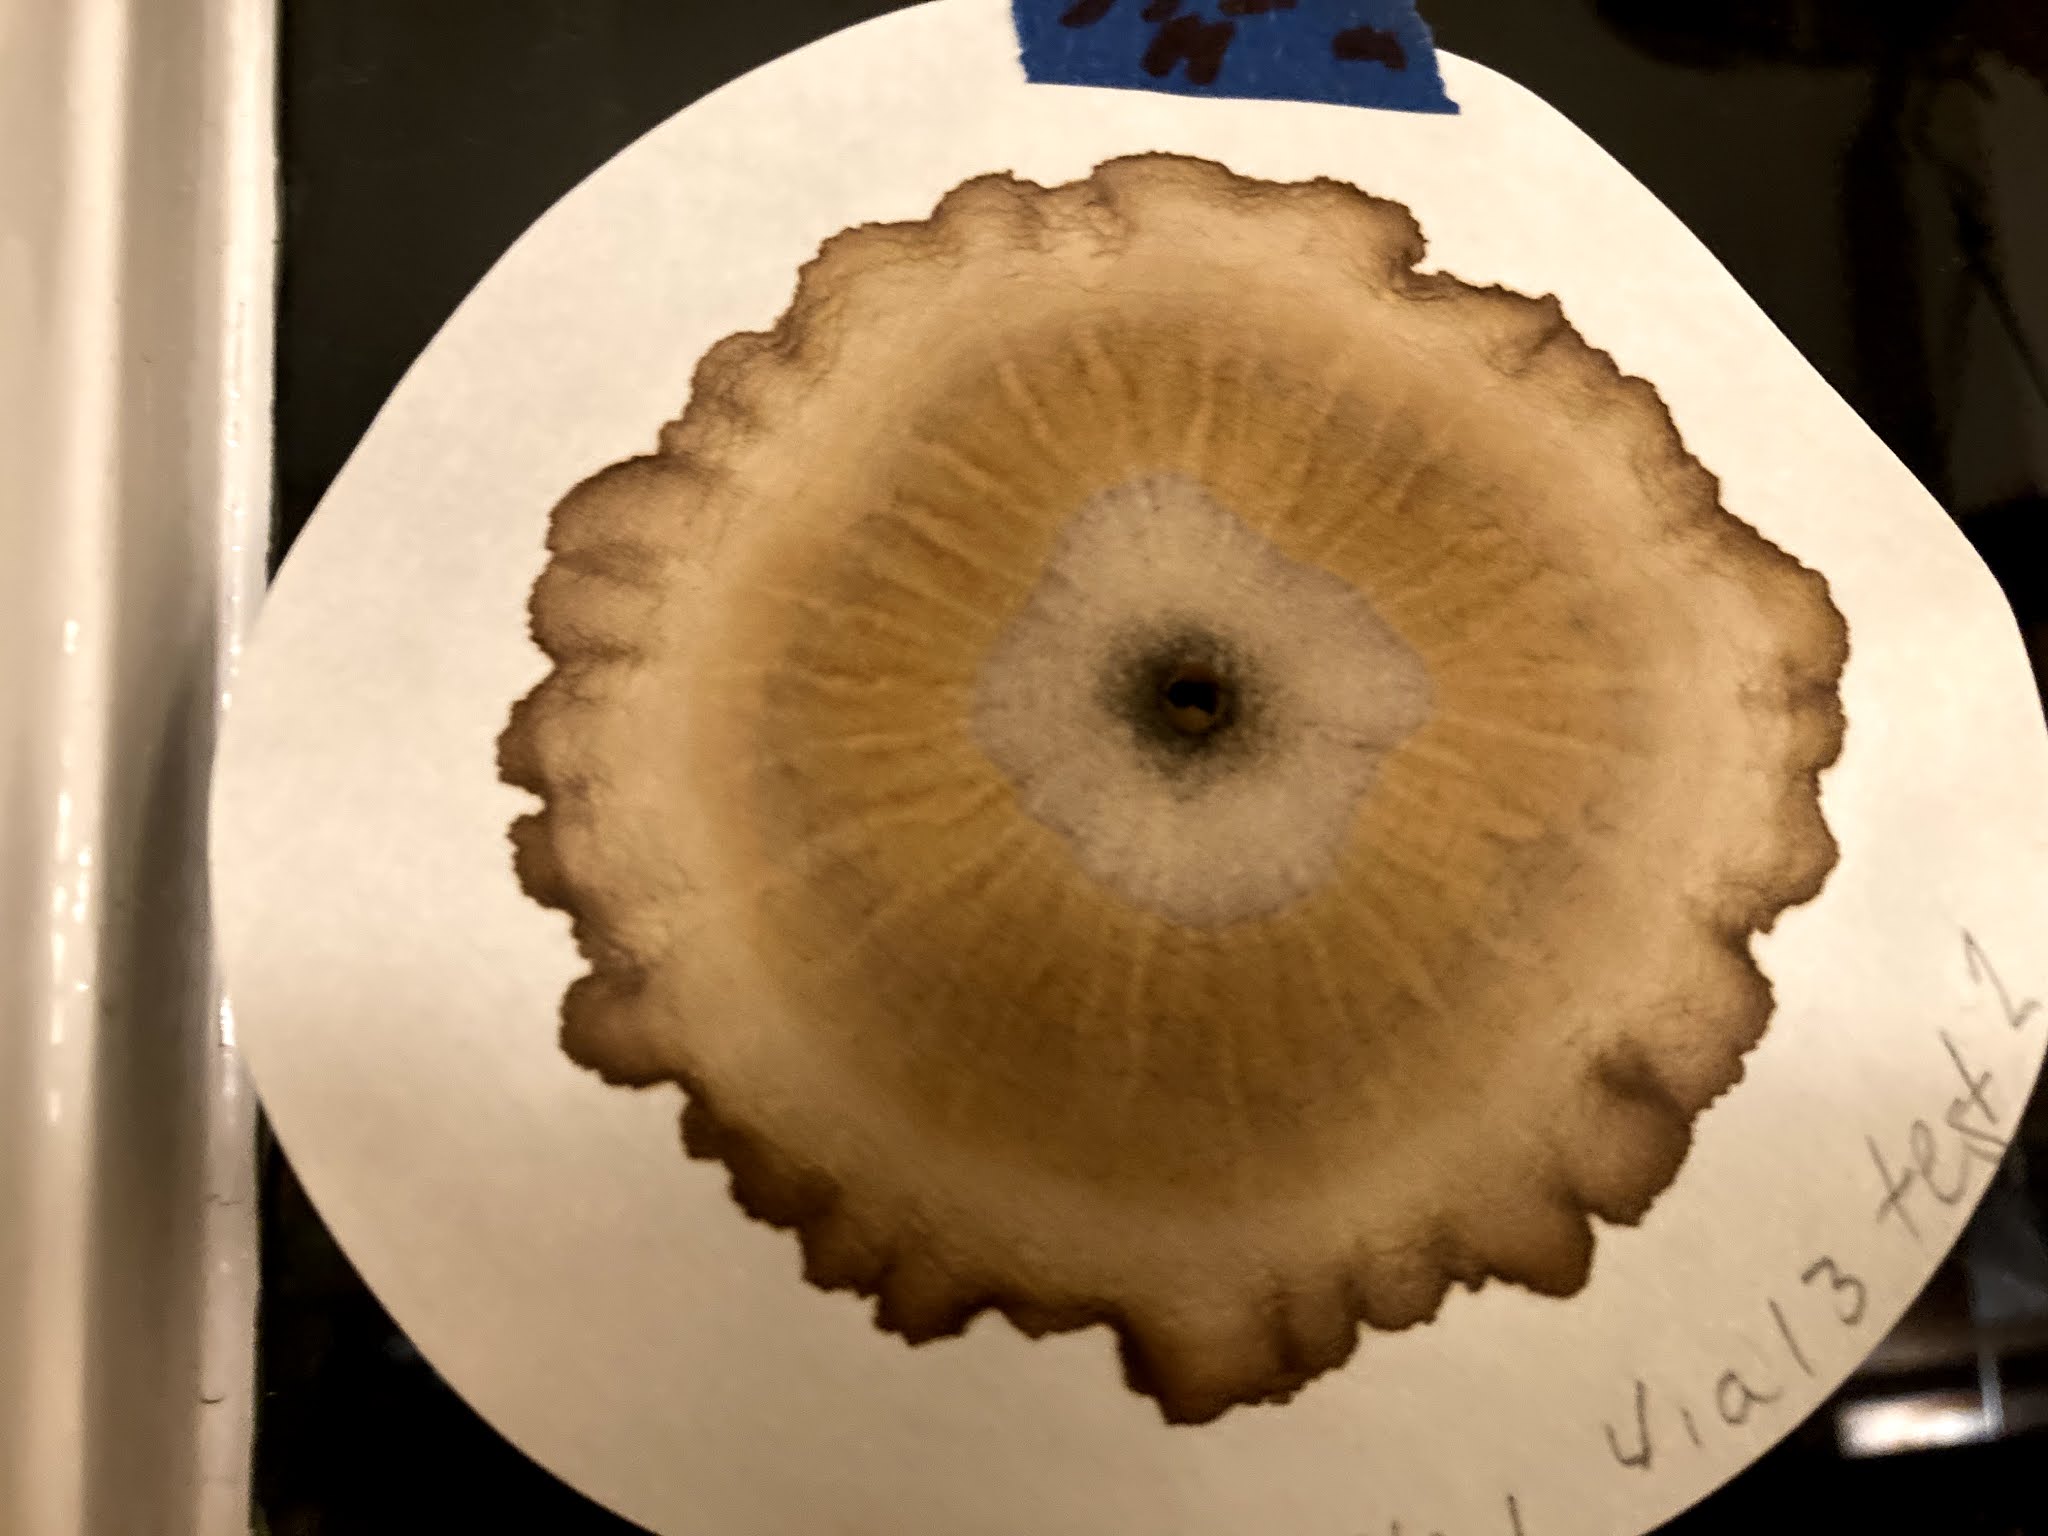 |
| this was from sample 1 it reminds me of a tree stump or a turkey tail fungi. What do the ones you've made remind you of? |
The general rule thumb:
- the more complex the pattern the more organic the soil
- the less complex the pattern the less organic the soil
- channels and spikes are a good indication of organic material
- deep strong colours also indicate richer healthier soil
Pfeiffer's Criteria for Evaluation of Chromatograms |
two words you should try to get information on and include in your next blog post:
Solvents: what are they?
Extraction: what is this?
Take some photos of you preparing the chromatography, the chroma's taped to the window and some of them finished include the photos too! This is a pretty abstract portrait of the soil health where you found it. In a way it's photographic portrait of your environment!
these below are ones i didn't absorb the dirty water long enough and i tried to use different solvents to extract the materials from the soil. I like some of the different things that came from these material experiments- while they might not be as good for the science communication they sure are pretty! This is a great way that science and art overlap- there's a lot of *Experimentation* testing things out, trying different things looking for a result.


Monday, April 12, 2021
Soil Sample Swabs!
Ms. Stewart Sent me some photos of the soil samples!
I'm looking forward to seeing yours!
Make sure to do a blog post about collecting the soil and about your swab discs!
 |
| fungus. Hoping it’ll get furrier. |


The others are the bacteria and have lovely snowflake like patterns. Lots more incubating at the moment.
Thursday, March 25, 2021
Collecting Soil Samples Action Shots and Edit


these are just the photos I took while collecting soil samples and the red ones are the ones that I'm putting together as an edit. In the same way that I'm posting photos of these activities on my blog- we want you to post your images(photos, drawings or anything else) of soil sample collecting and plate swabbing on your blog. This way I can see what you're doing with the project and leave some feedback for you.
here are some of the images I like as a basic edit bigger below. There's a LOT of photos! And that's okay. I wont want to use all these later but making art is a lot like a science project. We have some ideas and we start to experiment by collecting a lot of data, making observations and then putting that all together in some way that makes sense for our objectives. Right now we want to document part of the science experiment but also try to make some nice looking images.
Its worth considering what you want the photograph to 'say'
this first batch i experimented with composition thinking about the rule of thirds as well as trying to show the 'environment' and landscape i was collecting soil from:


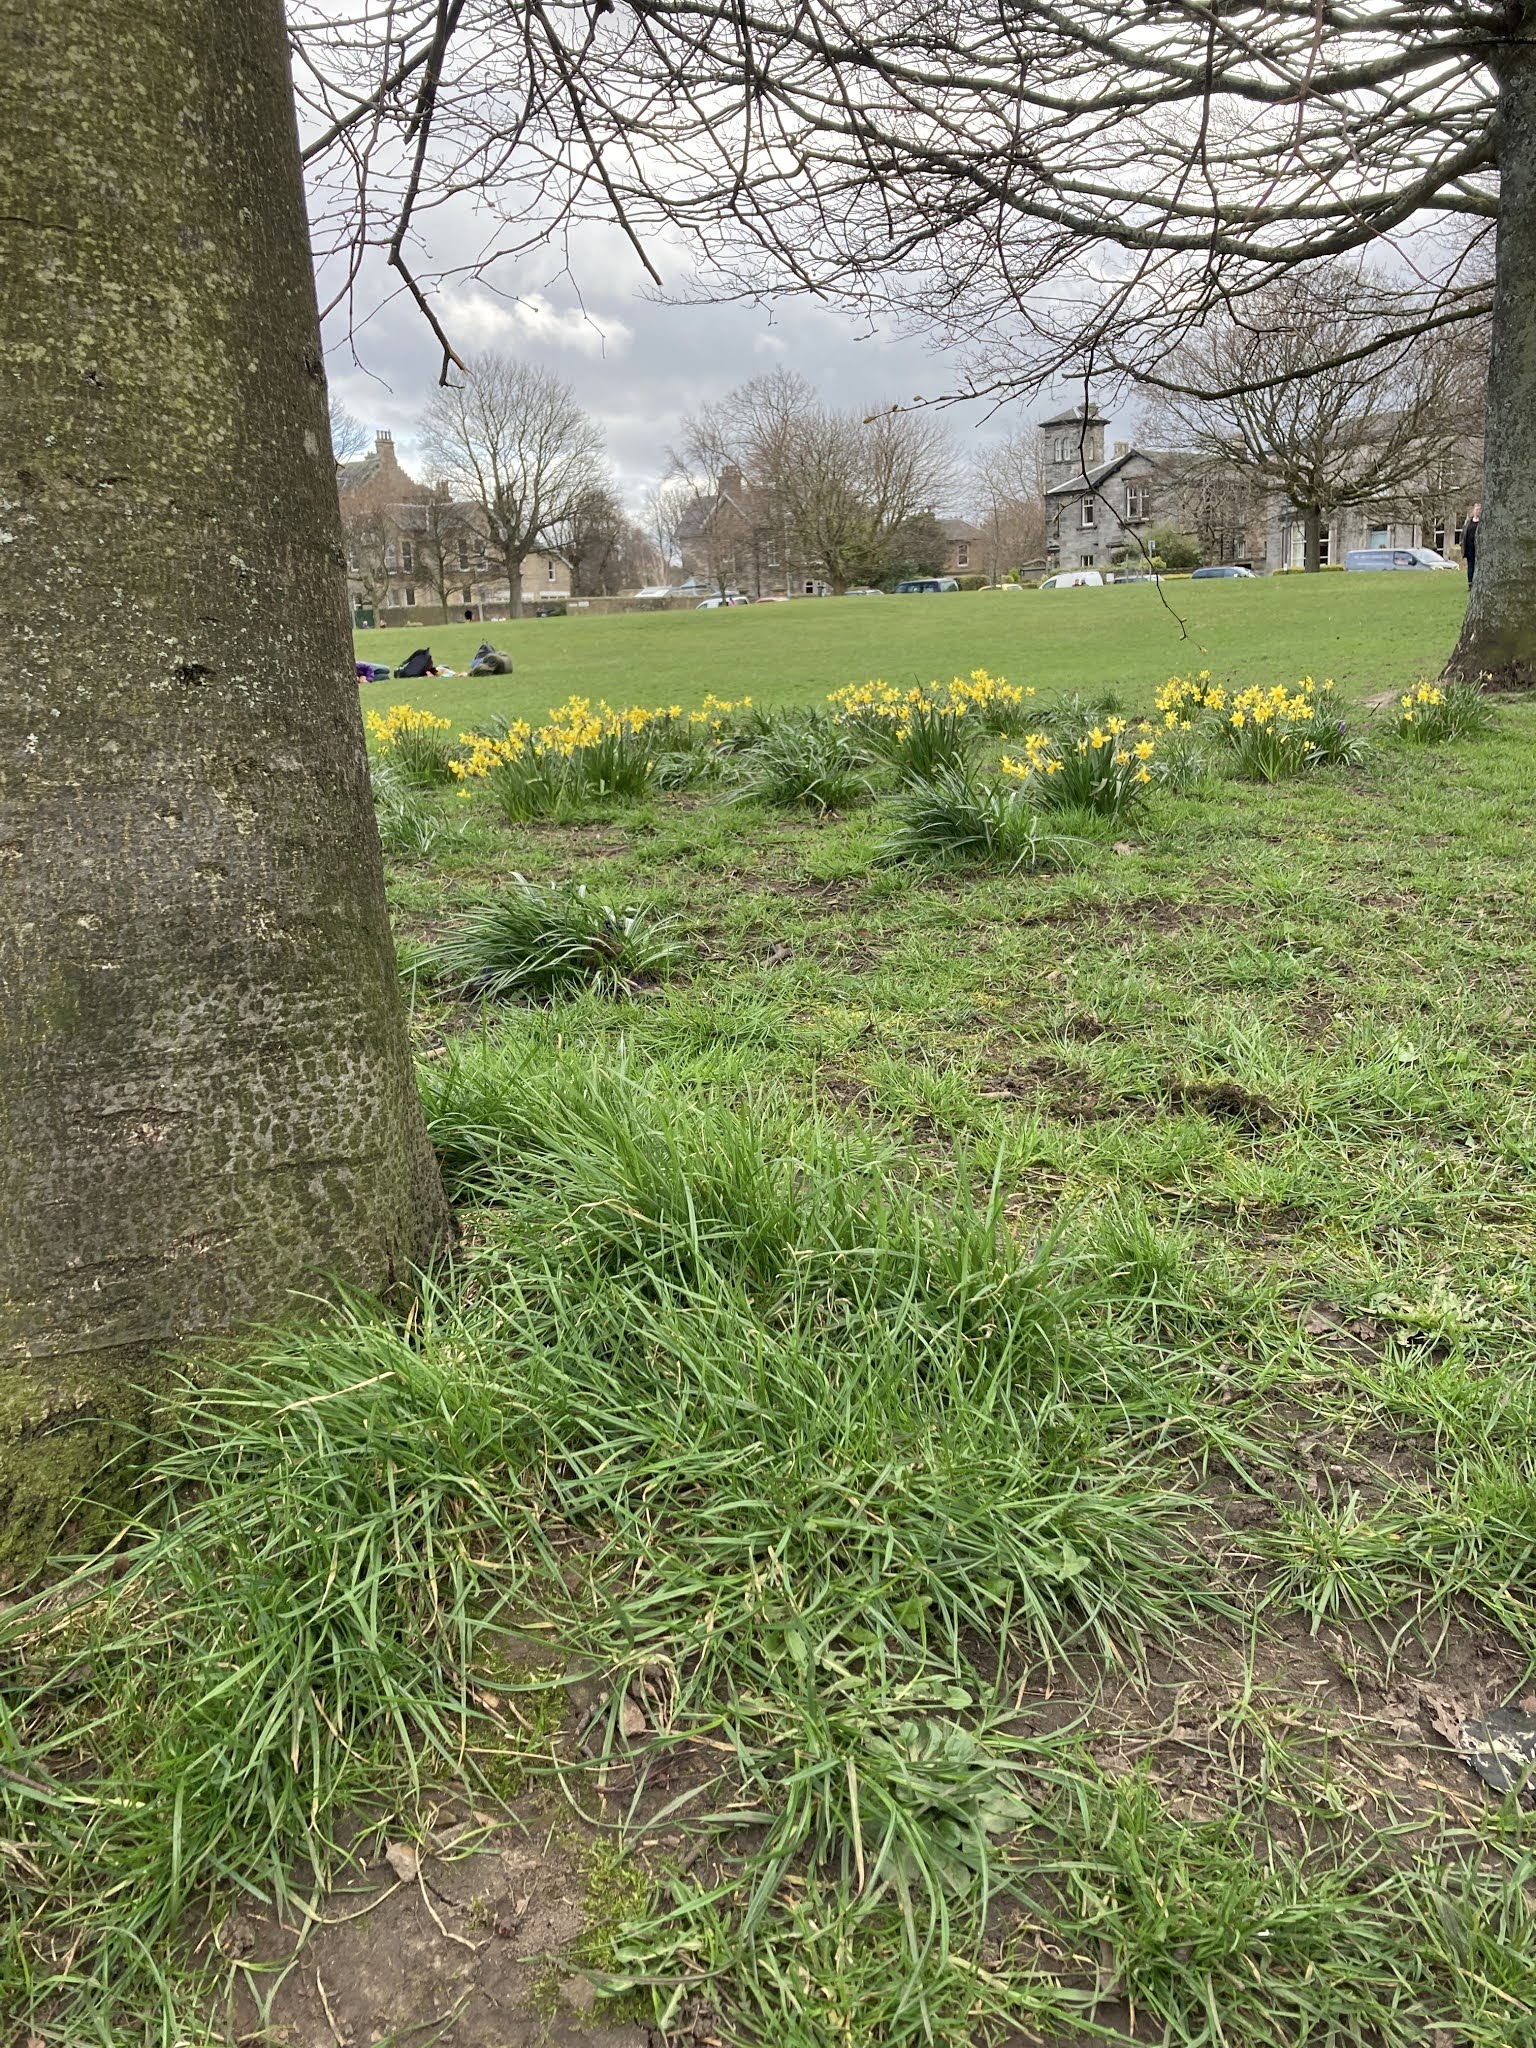


it's exciting to try different ways of looking at things- we can find new ways to describe the area around us and what impact there might be. I haven't decided on the composition and spoon/soil reflect I like best so these are the contenders. I might crop one of them to get that "rule of thirds" later. It was difficult to compose while getting the focus and reflection so i decided to make a bigger picture that I can maybe edit later,


nice close up of one of the first places i collected soil from. it shows a past tense action and other elements of the soil.

 there were also dandelions around so i thought i would document some of the things i saw
 then i found this worm, i think its injured. I hope i didn't step on it. :( make sure when you're collecting your samples that you observe health and safety things, consider gloves or if the area you're in is safe to you first, but also try to make sure you're doing no harm to the environment. :)
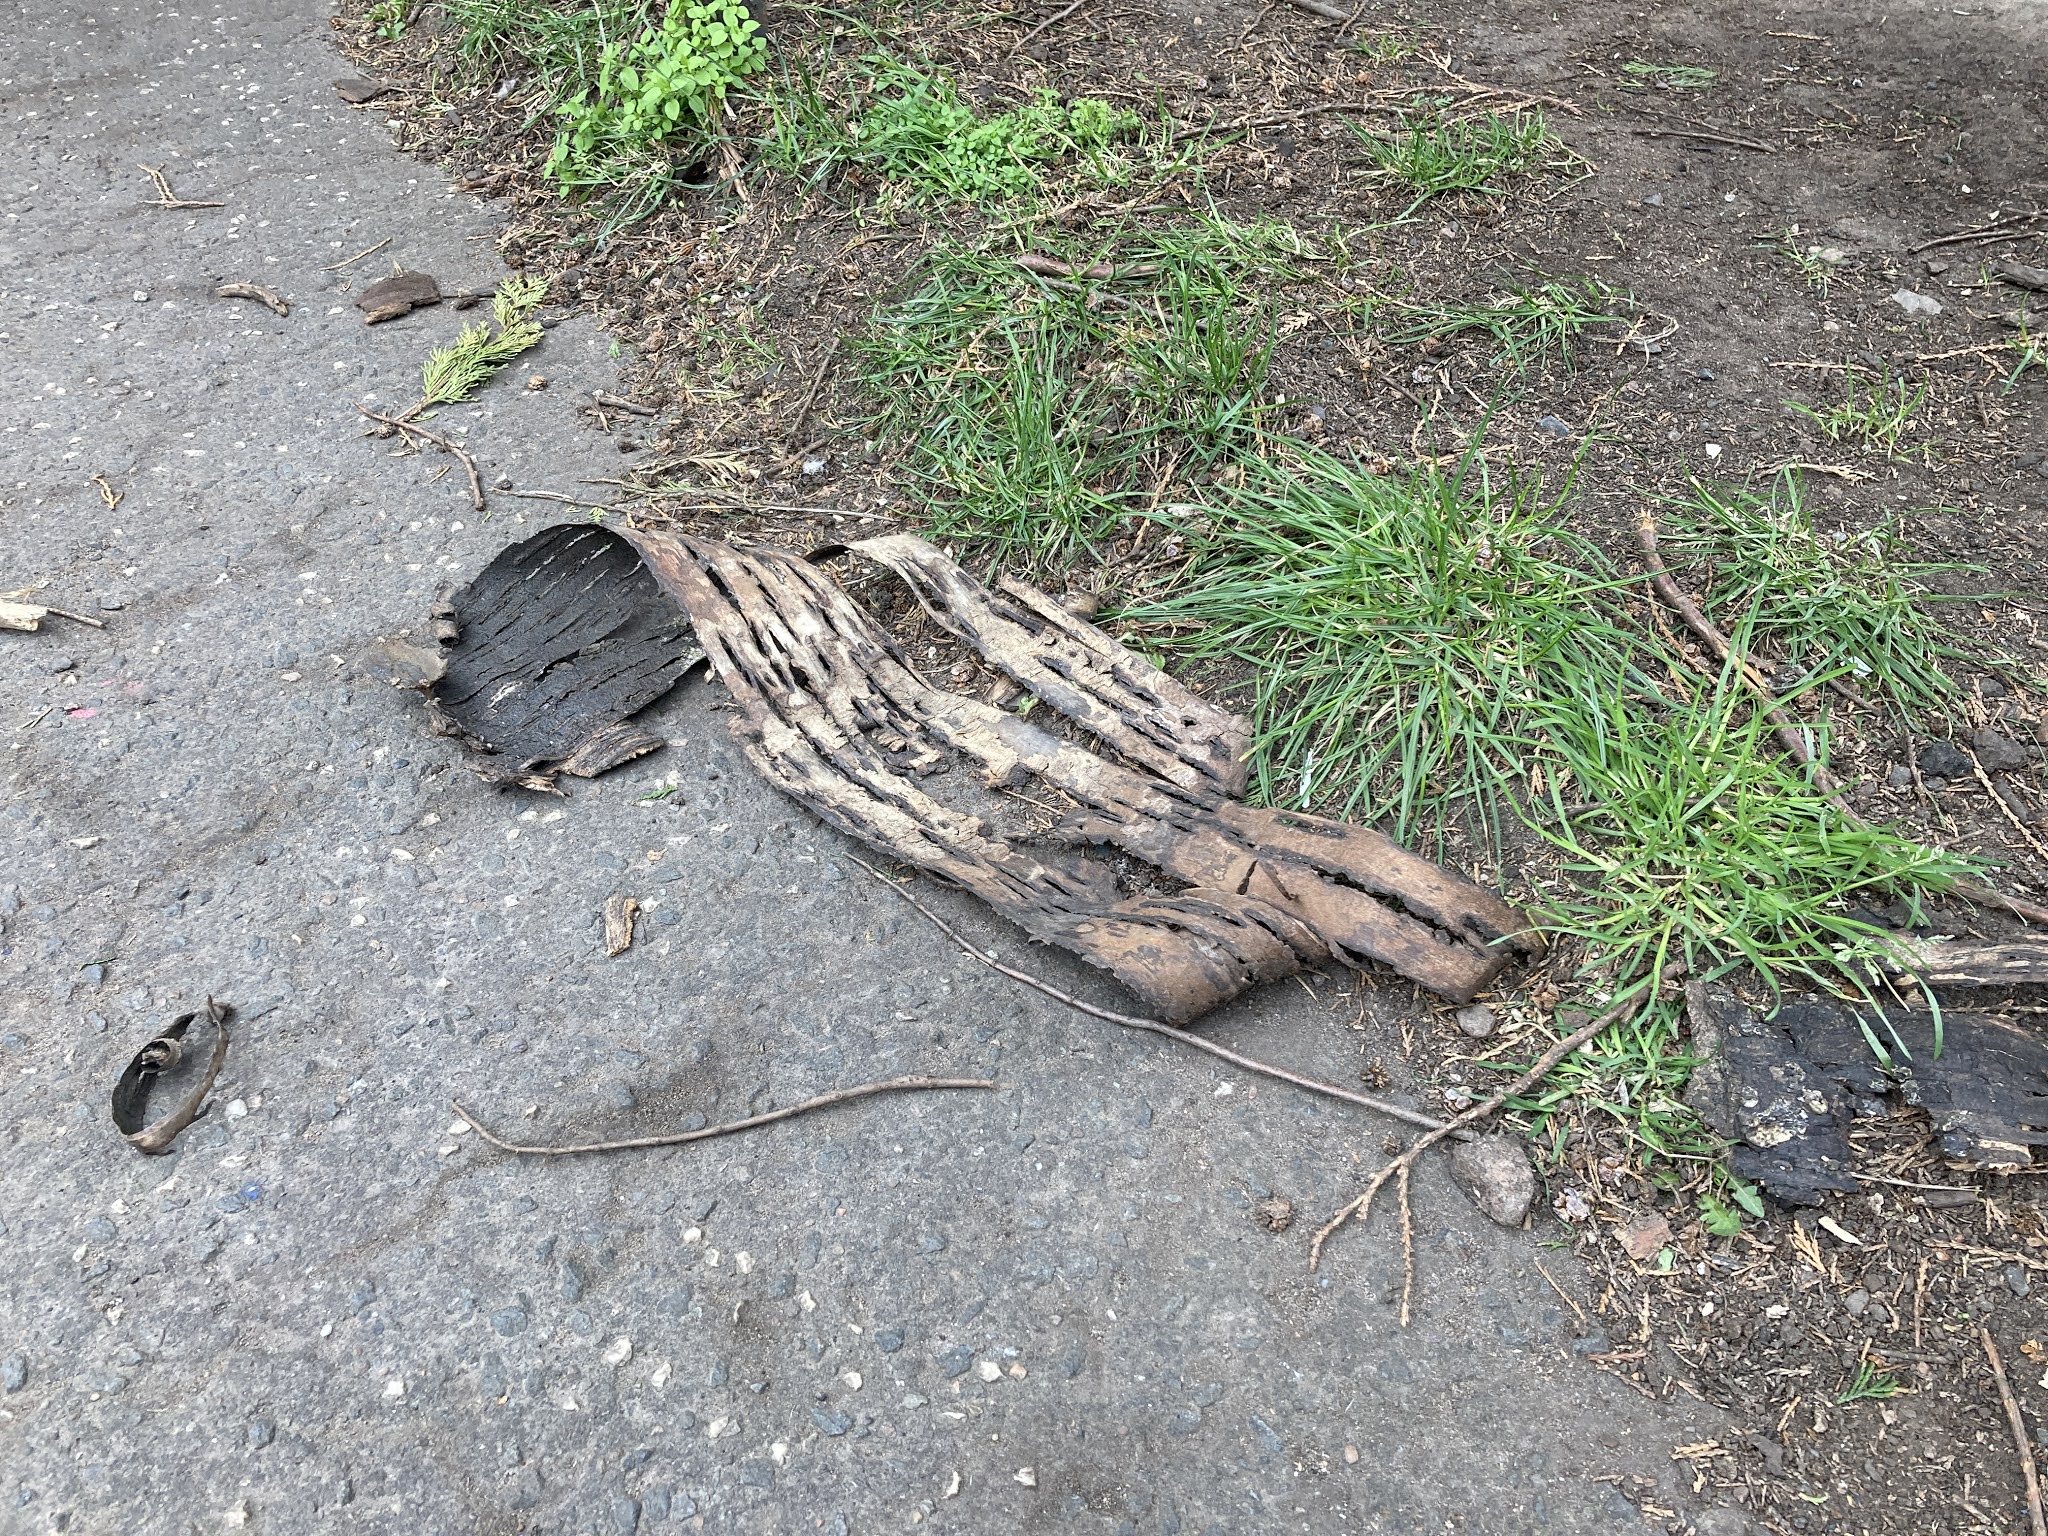
 i found this semi decomposing piece of plastic bag. I decided it was a part of the environment worth documenting. It's not always just nice nature bits- the bag was kind of interesting in its shape and I got an idea for doing more photography with it. I had a spare bag so I picked it up and took it with me.


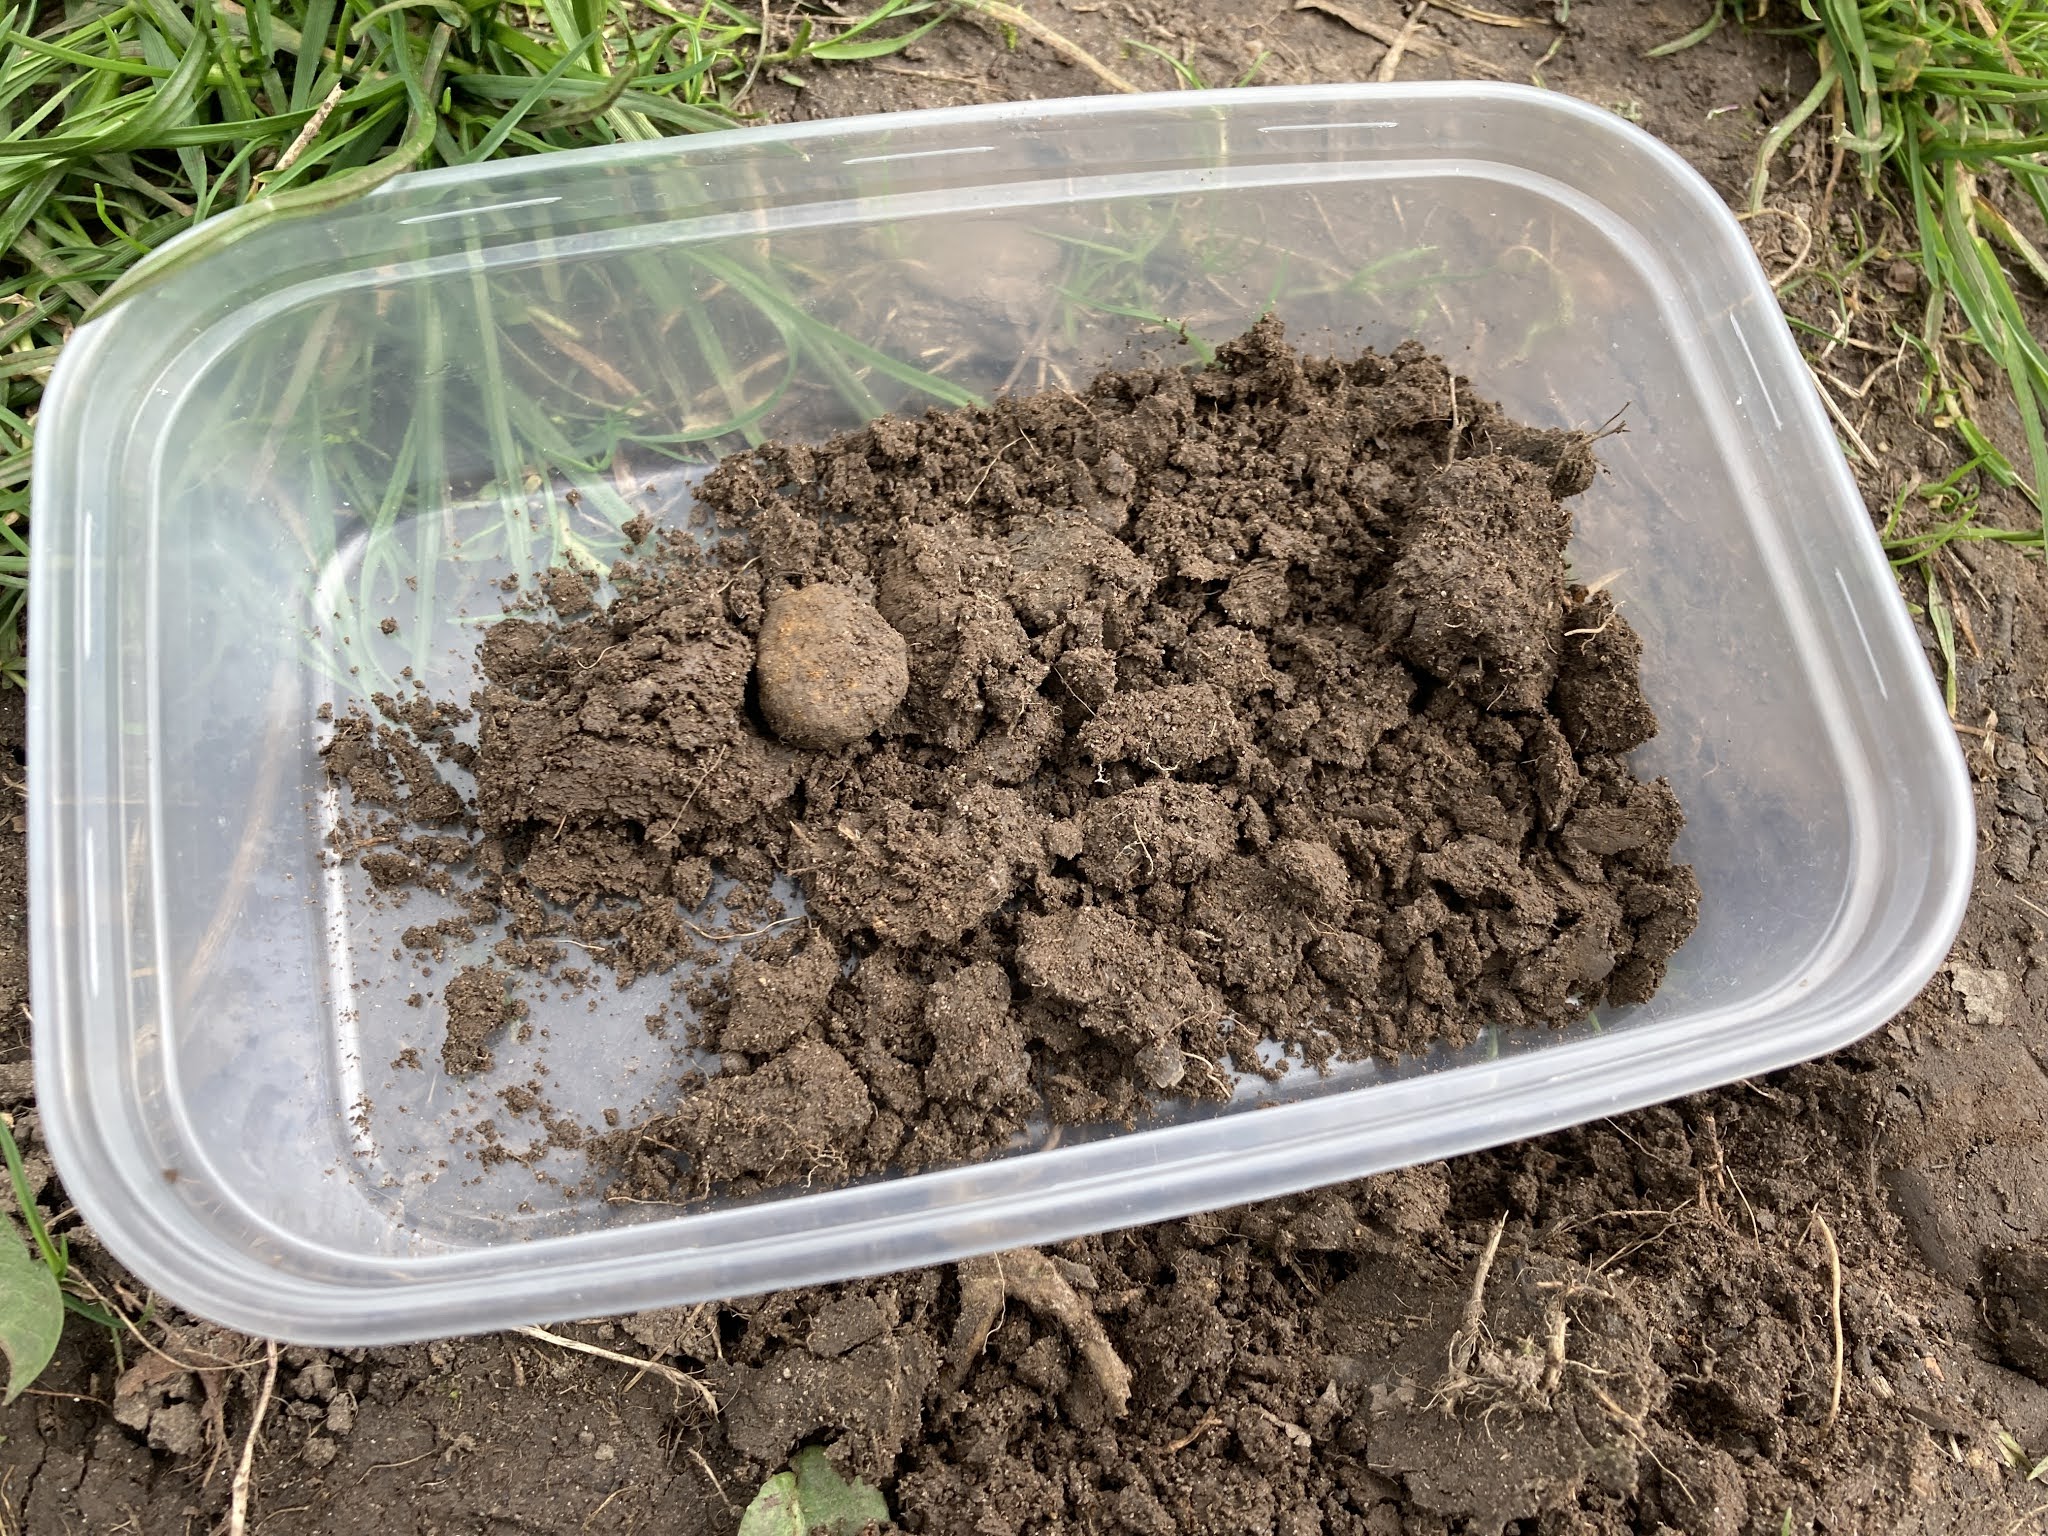
just some up close and personal photos of my samples in the carryout container.
how close can I zoom in and crop before these become abstract and something else?

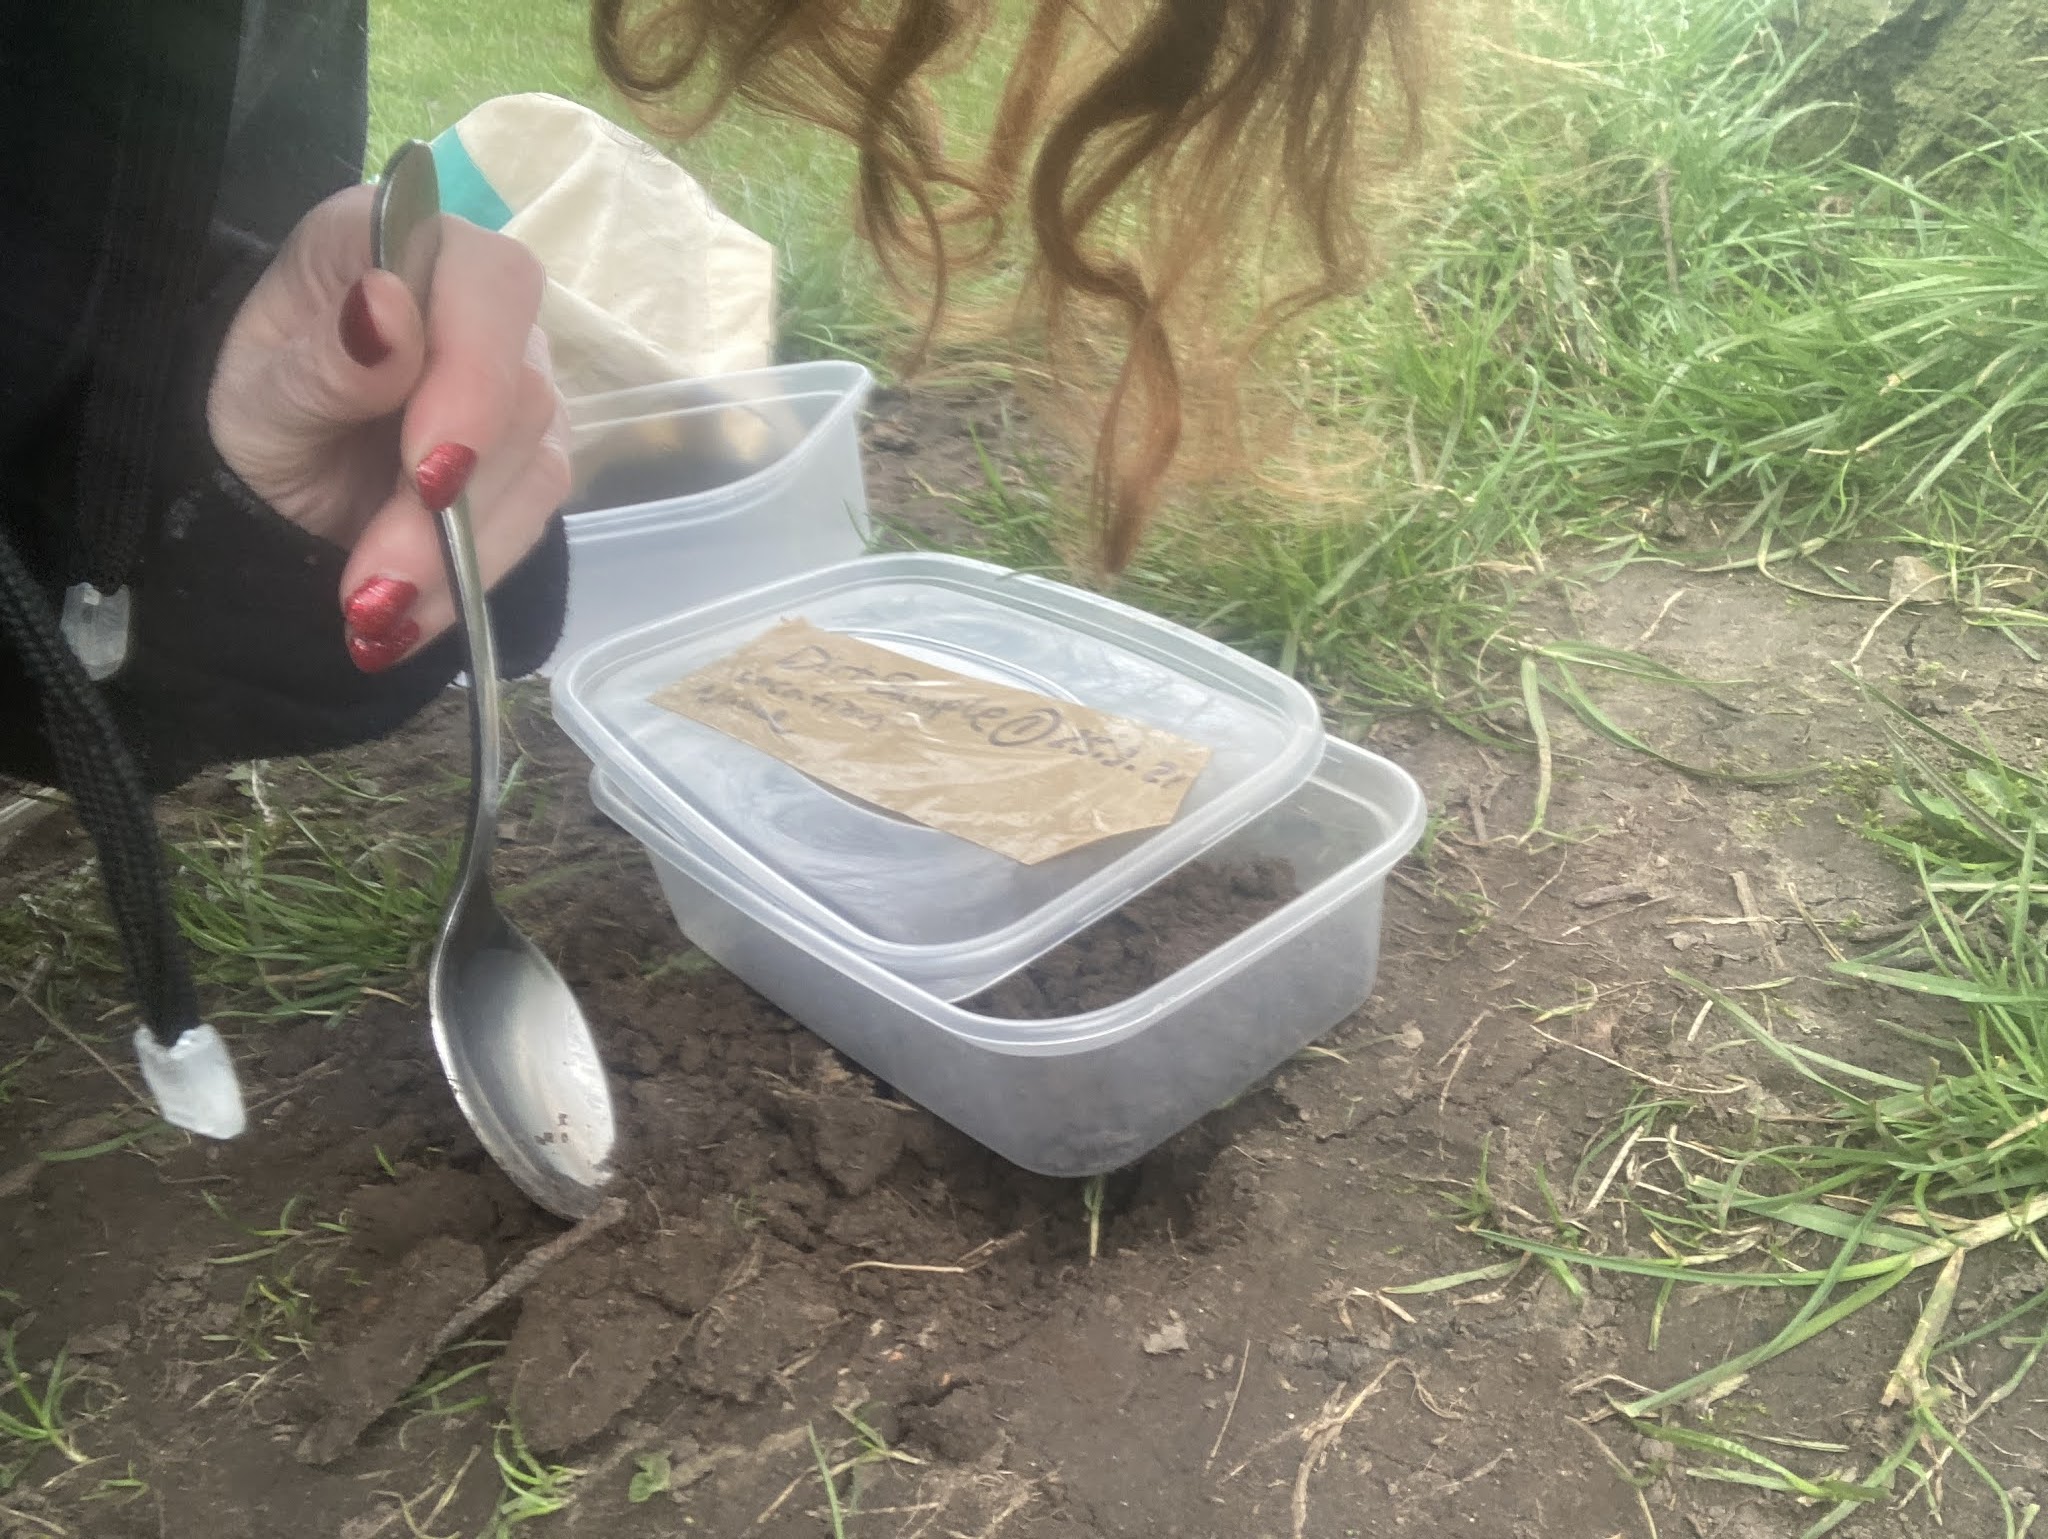
soil sample in environment where taken
it fills the frame while still showing some of the environment it came from
and it's at a fun jaunty angle


action selfie. sometimes its just nice to have some documentation of what you're doing.
if no one is there to take a photo find a way to identify yourself. I used my hair.

here i thought i'd just take a down on the ground photo of some of the grass nearby


In this way I will both have a positive impact on the environment by removing some plastic litter but also found something to begin a sketch of a project with. Feel free to do the same. We might be able to use it later. Again, be sure you're being safe.


looking up this was the evergreen that was above me.


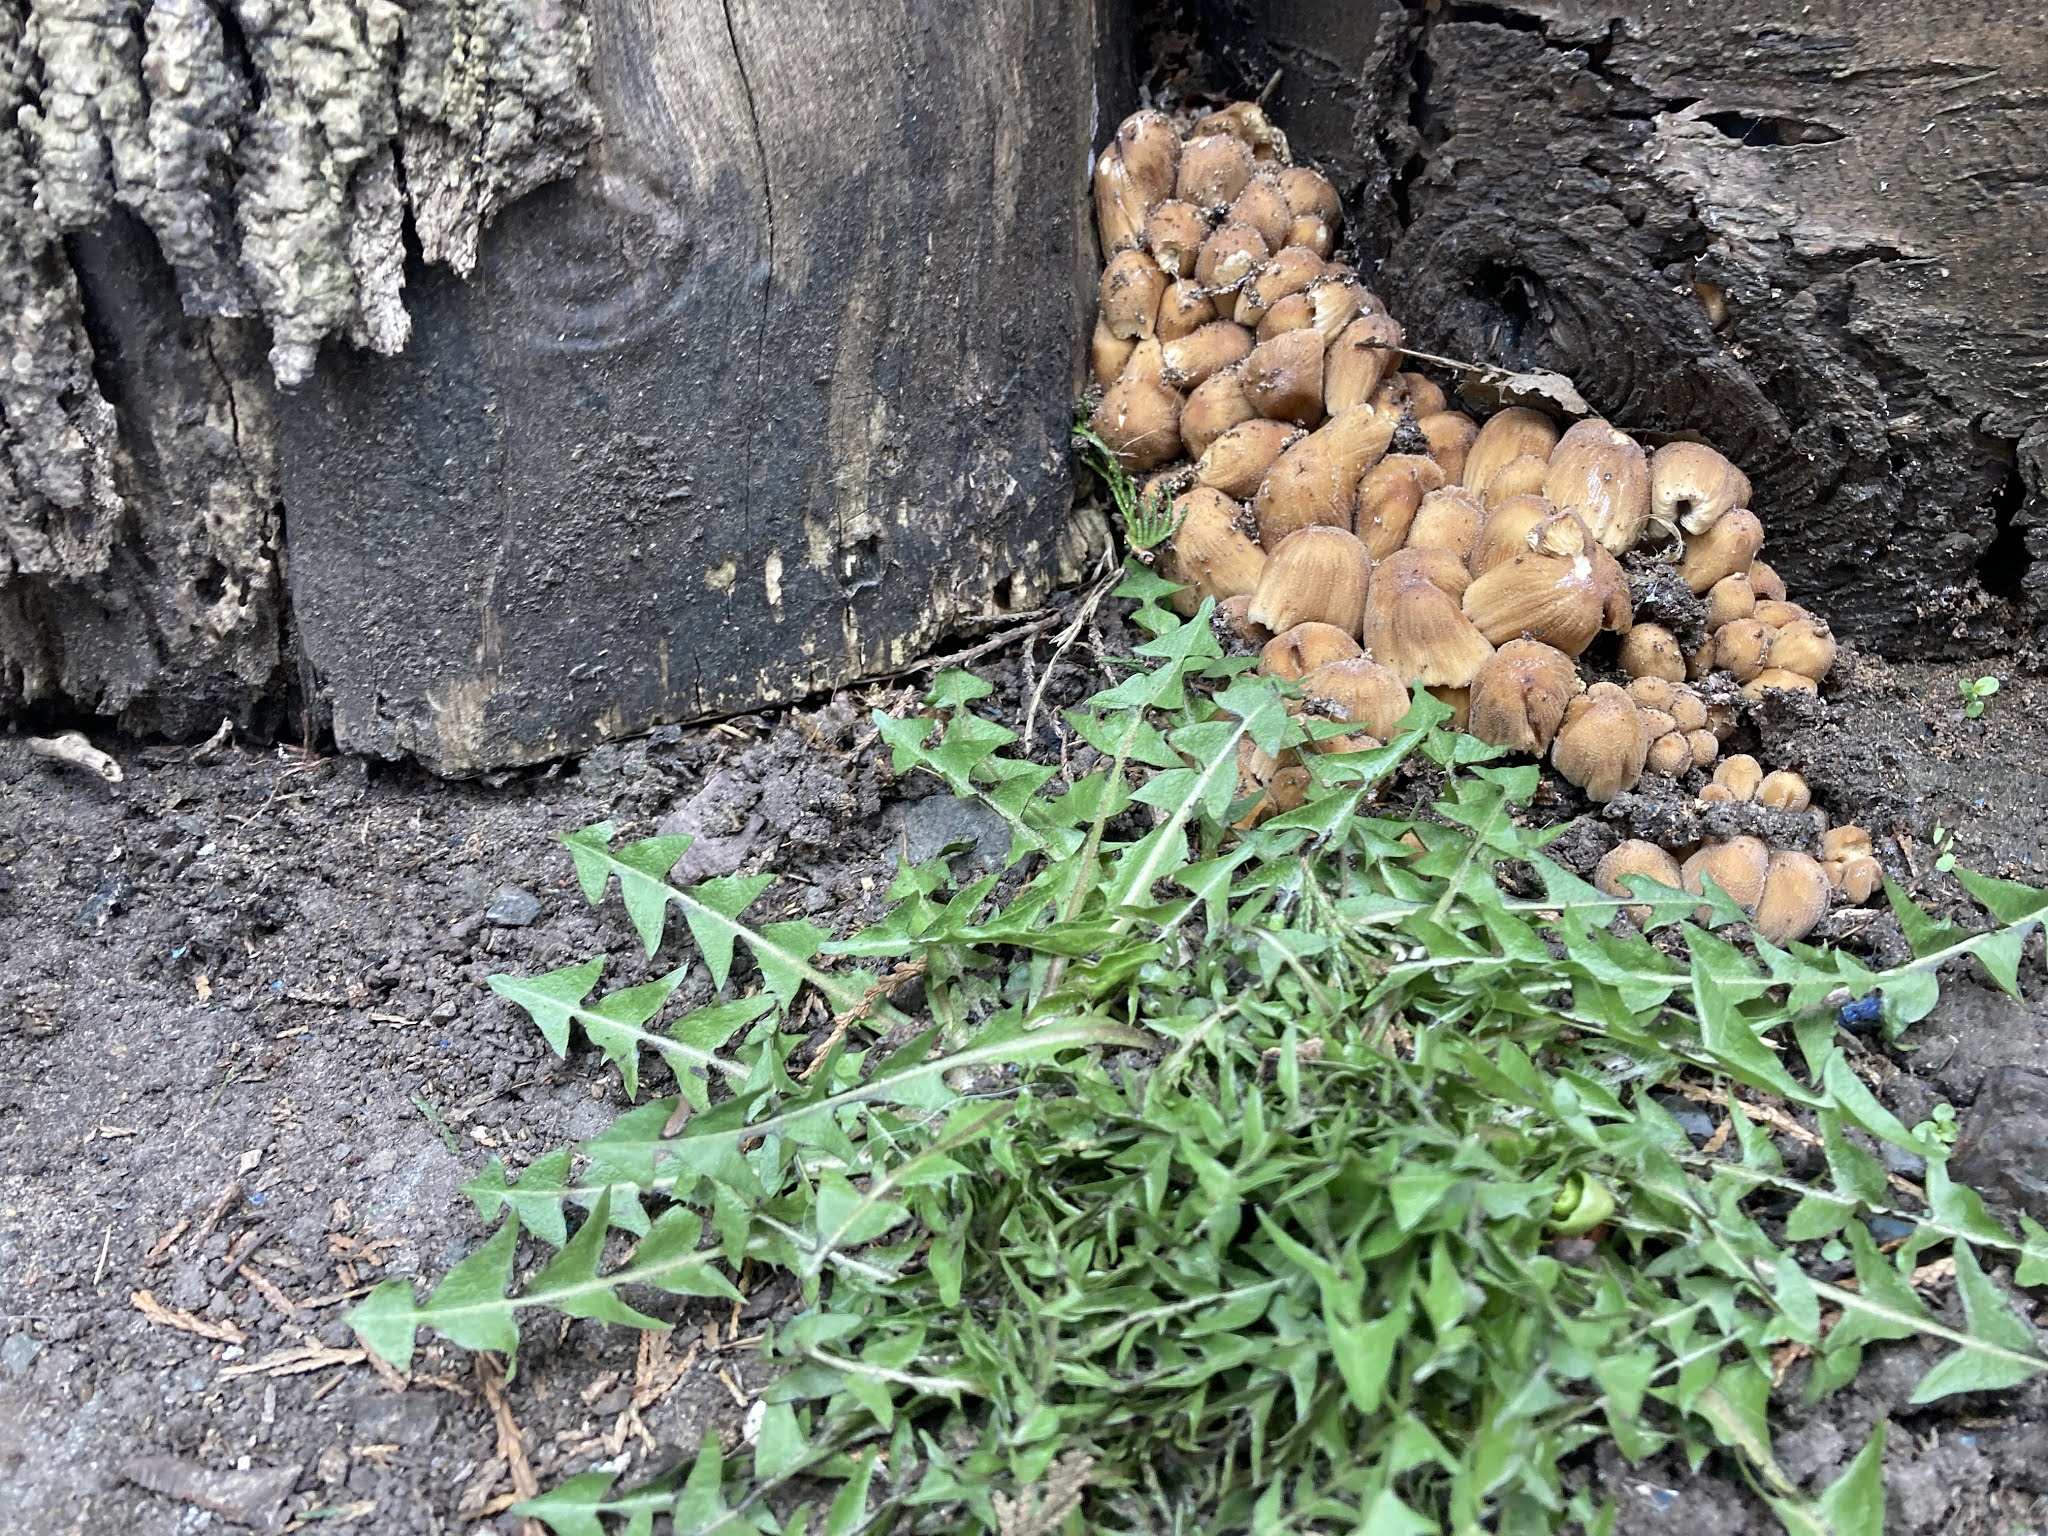
detail shot of where I dug up some soil, and i wanted to take some phtoos of the fungus- i like the colour and the texture and it looks nice with all the other elements.


another soil sample in situe


if you have another way you'd like to try and describe this activitiy, I know a lot of you said you like drawing - go ahead and do some of that too if you want! I'm not a great illustrator so i use interesting photographic techniques to describe these things differently, which we'll get into more the next time we meet. Please do take a few different kinds of photos tho- and next week when you prep the slides with the samples!
Subscribe to:
Posts (Atom)